How to create a custom email address using your domain with Hostinger | 2022
In this article, I will show you step by step that how to create a custom email account based on your domain name in just 5 minutes. It’s a very easy process.
In the following screenshot, you can see that I already have purchased hosting and domain name from hostinger.com.
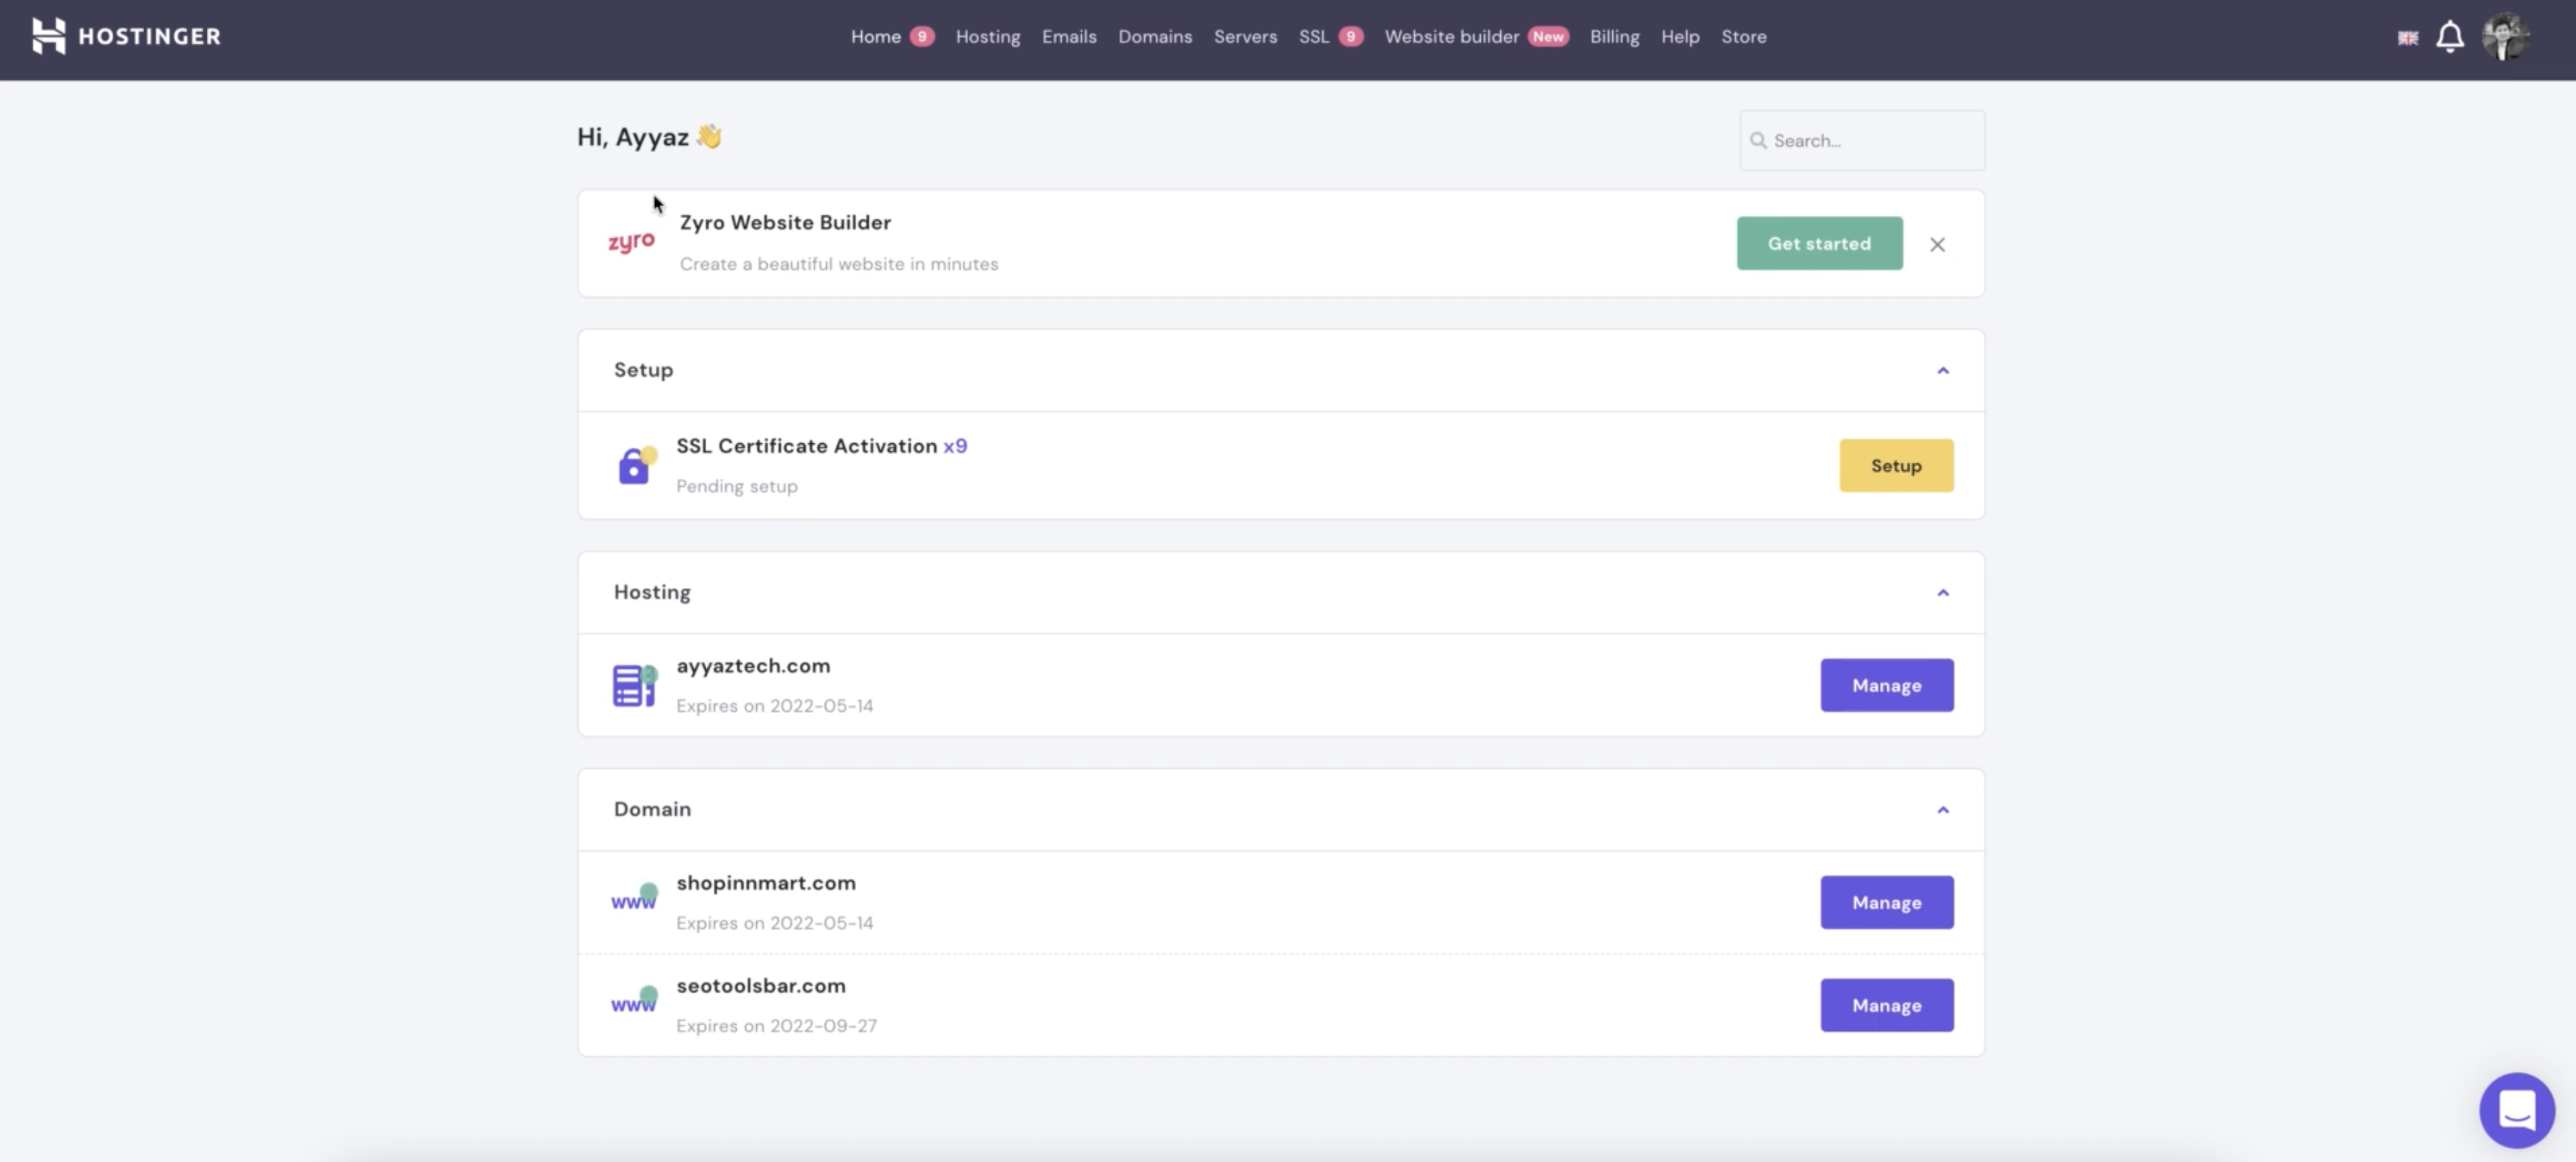
To add an email account, first of all, you need to click on the “Manage” button after the hosting package that you purchased. In my case, in the “Hosting” list you can see hosting “ayyaztech.com”.
After clicking on the “Manage” button you should see the hPanel provided by the Hostinger with full of several useful options to manage your hosting.
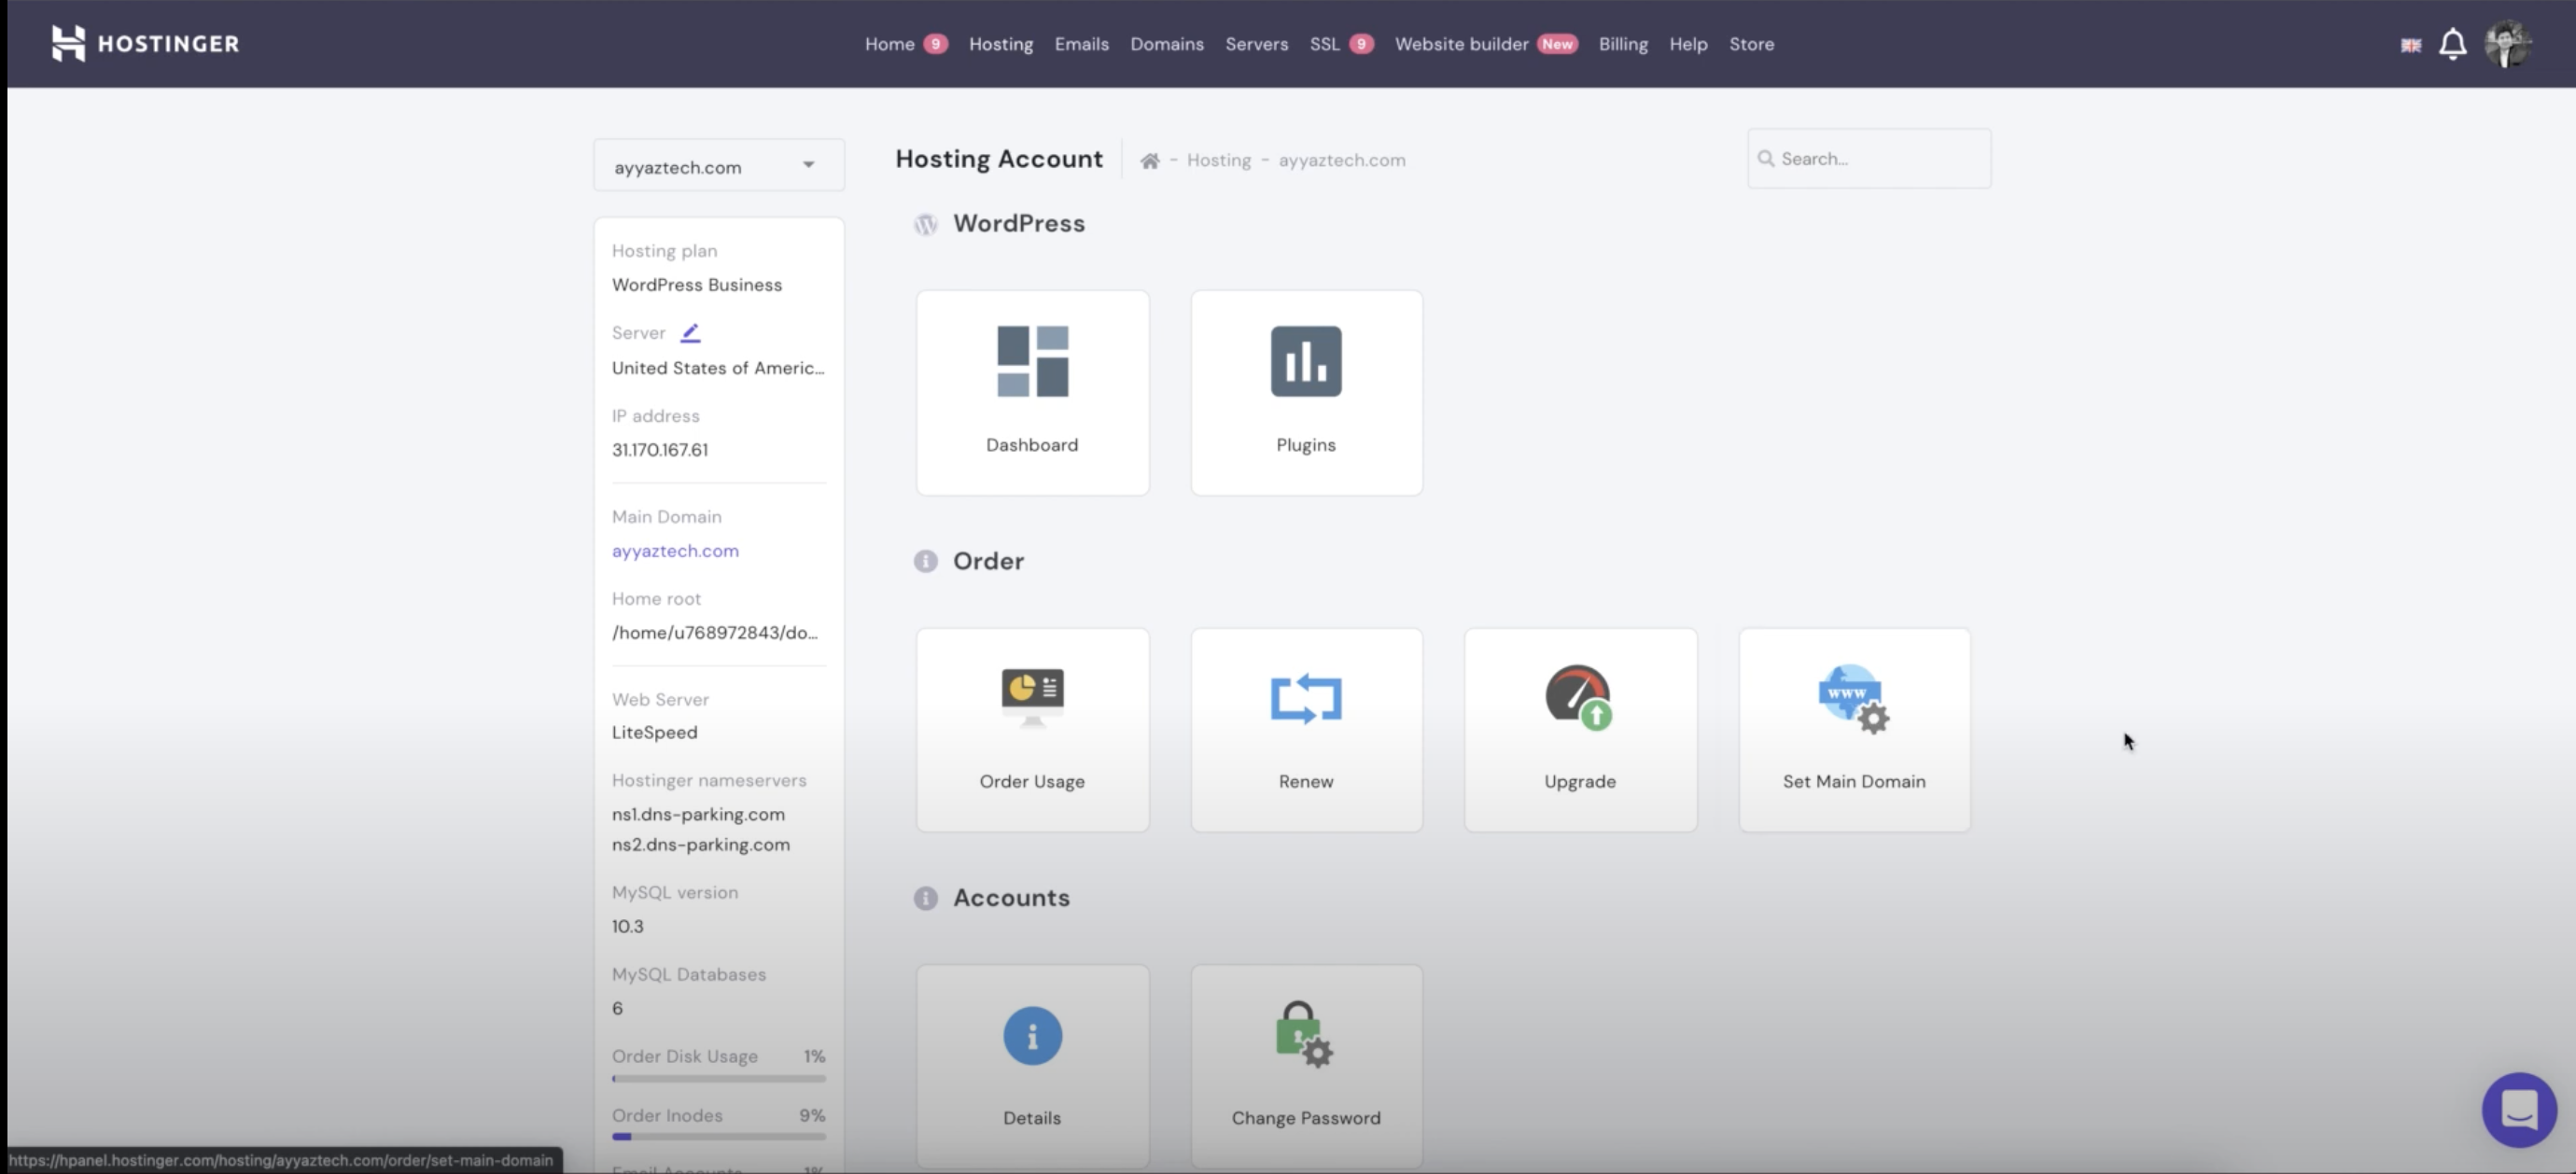
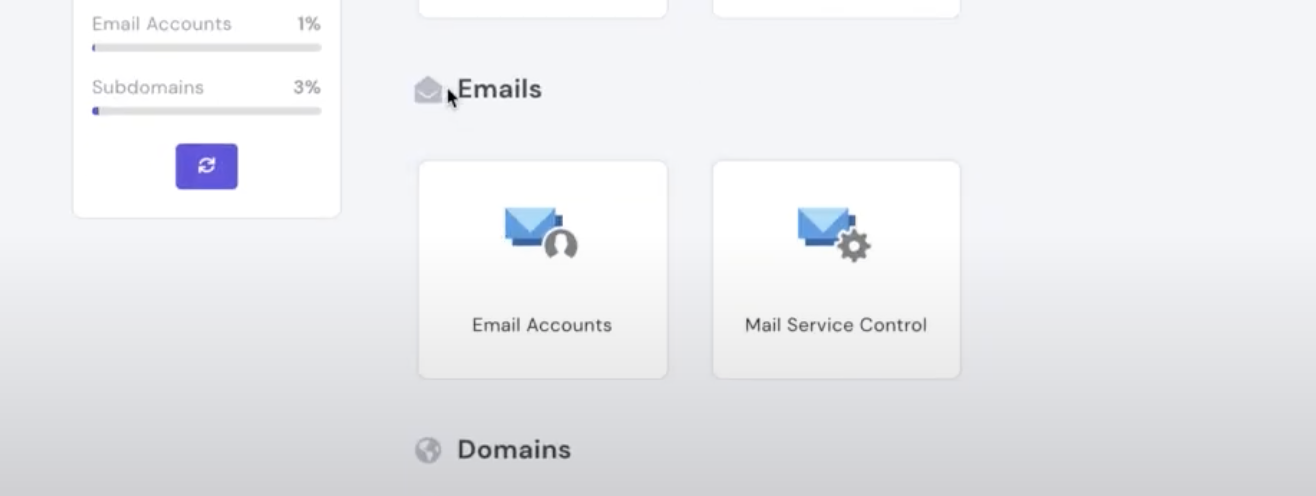
Now scroll down and then you would find the heading “Emails”. Under that click on the Email Accounts button.
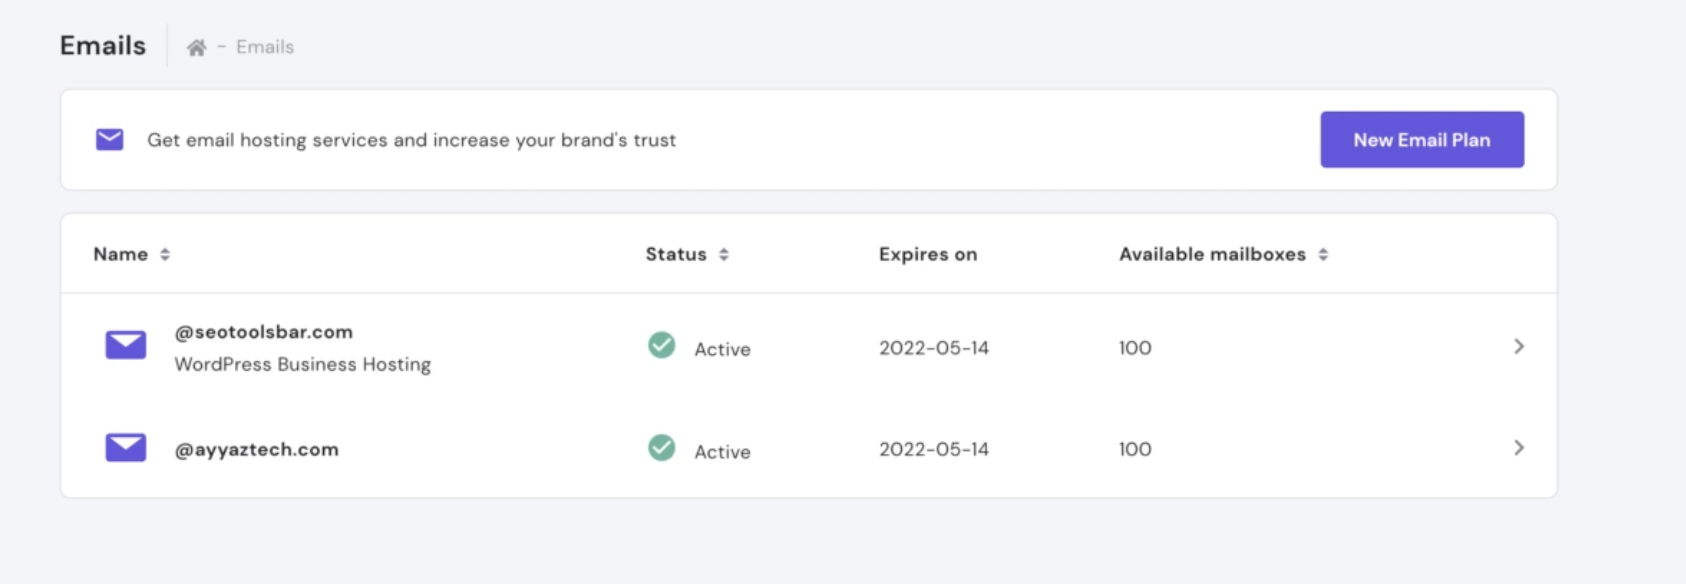
After that click, you would see a page with the list of all domain names that you have purchased from Hostinger or linked with Hostinger so far.
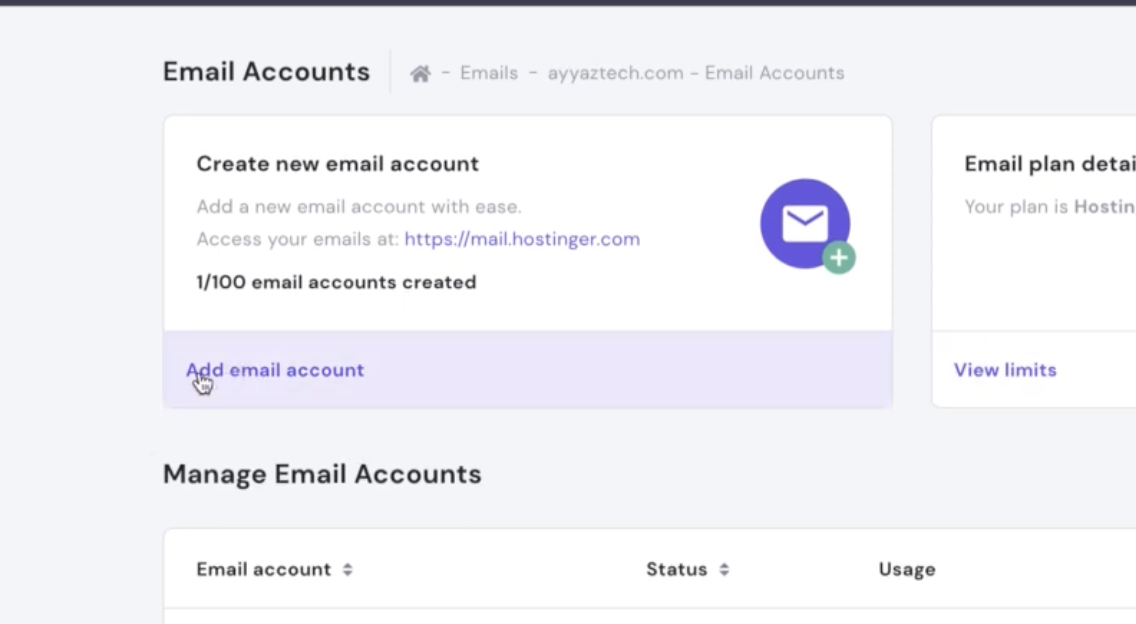
Now click on the domain on which you want to create the email address. Then it would show a page like this:

On this page, you will see a list of all email accounts that you already have created so far. In order to create a new email account, click on the “Add email account” button:
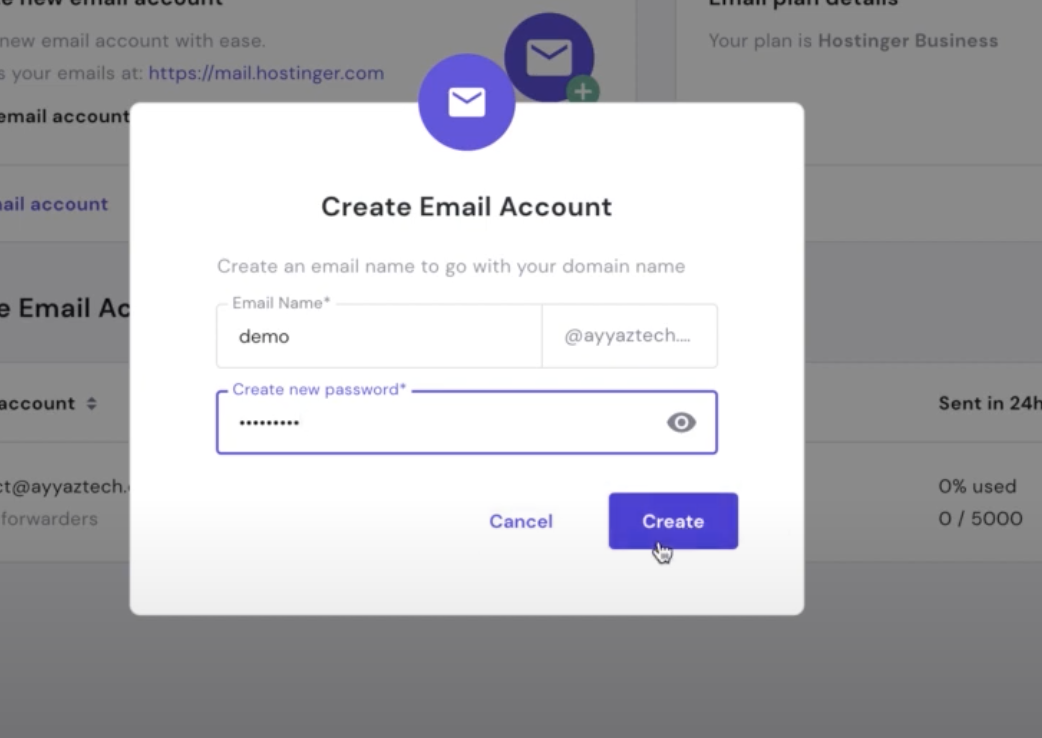
After the click, you would see a dialogue with a form to create an email account. Fill that form and click submit.
After it is created, you would see a success message and the new email account listed in the screenshot below:
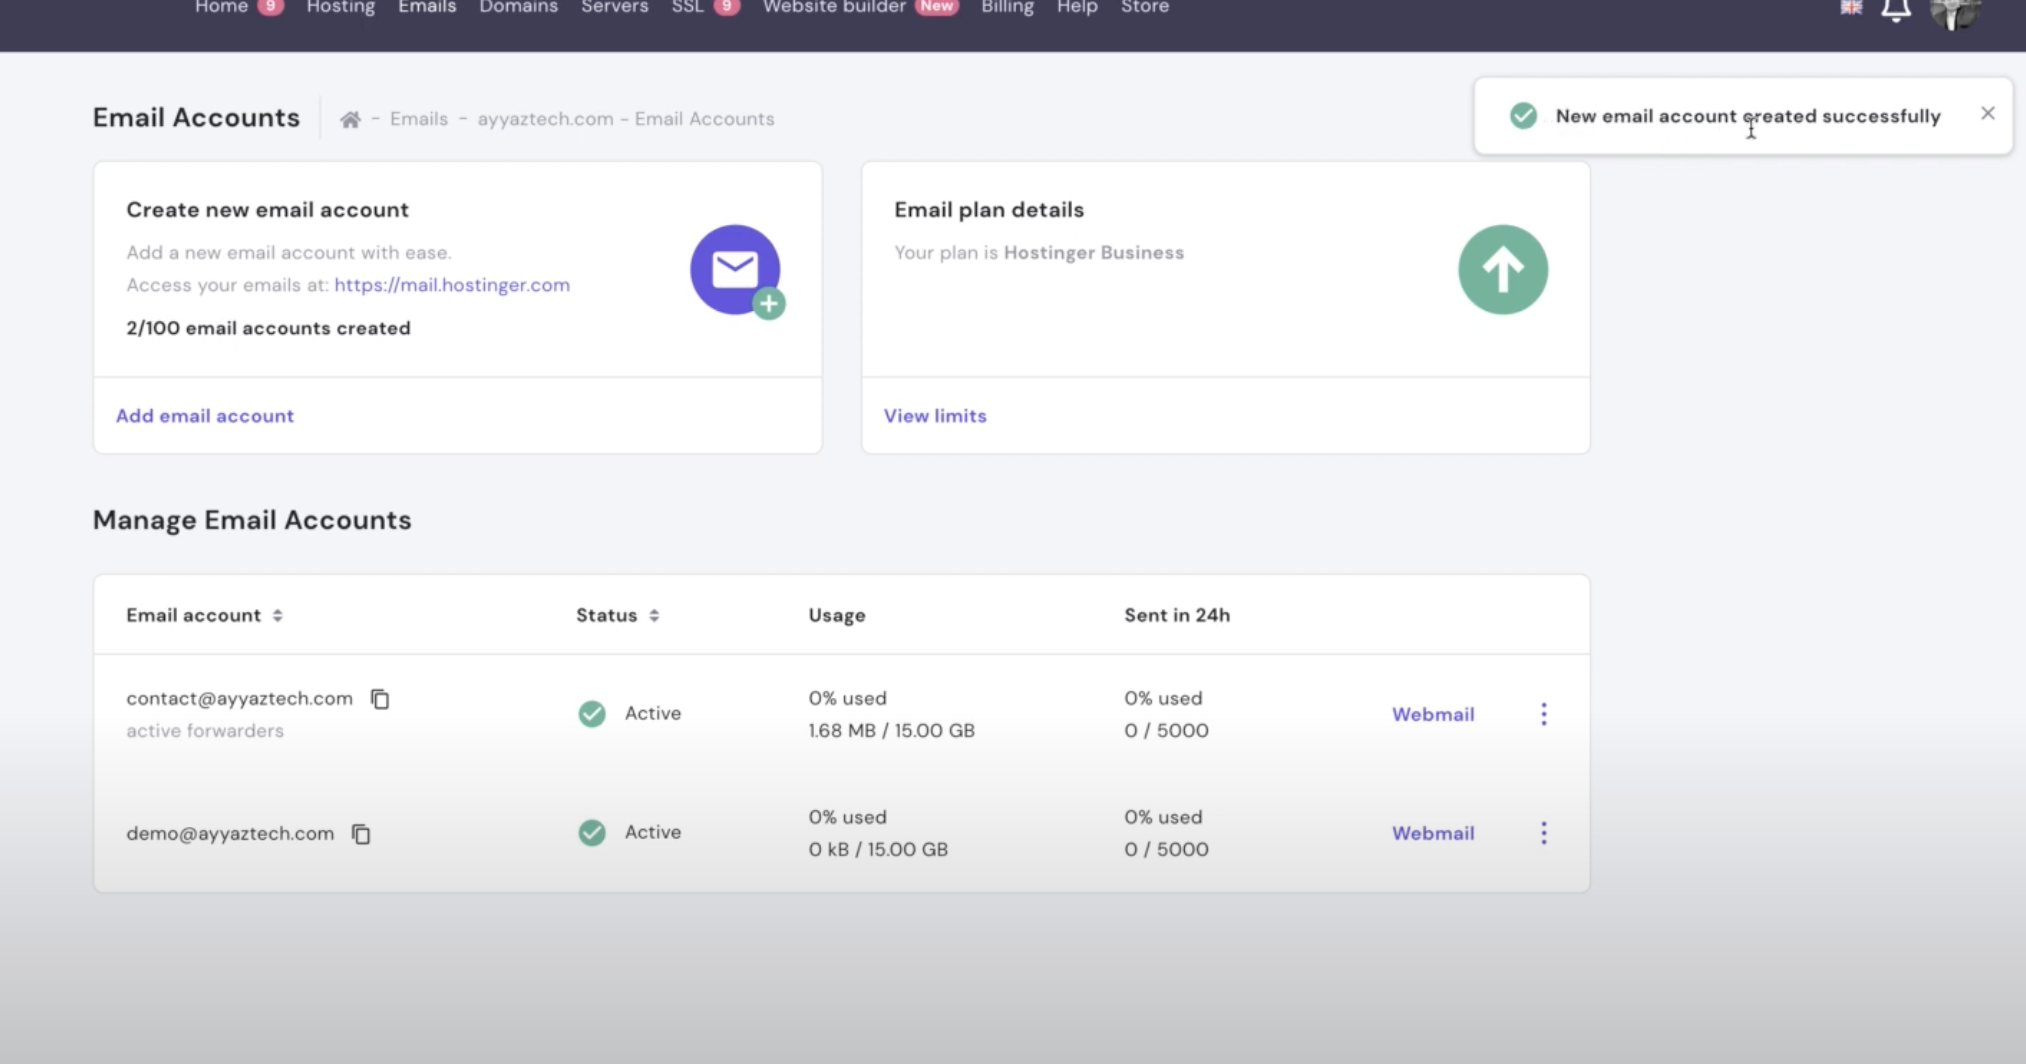
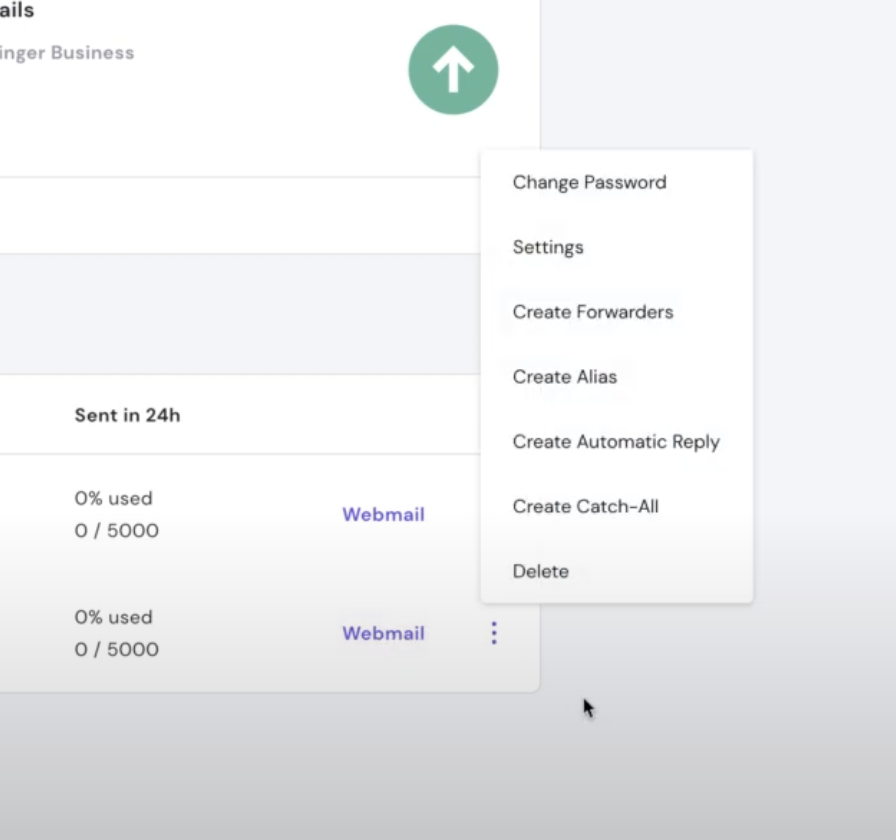
You can see that there are several options for your mail account where you can see that you can change password, configure settings, create forwarders, create an alias, create automatic replies and so on.
After this step, your new email account is now ready to be used. You can access it through Hostinger’s own built-in Webmail client or you can use your own mail client on your computer. In this article, I would just show you how to access and use it through their Webmail client.
Now click on the “Webmail” button that would show you the login page for your mail account:

Fill in the login details and submit. After login, you would be redirected to the landing page of your mail client as shown in the screenshot below:
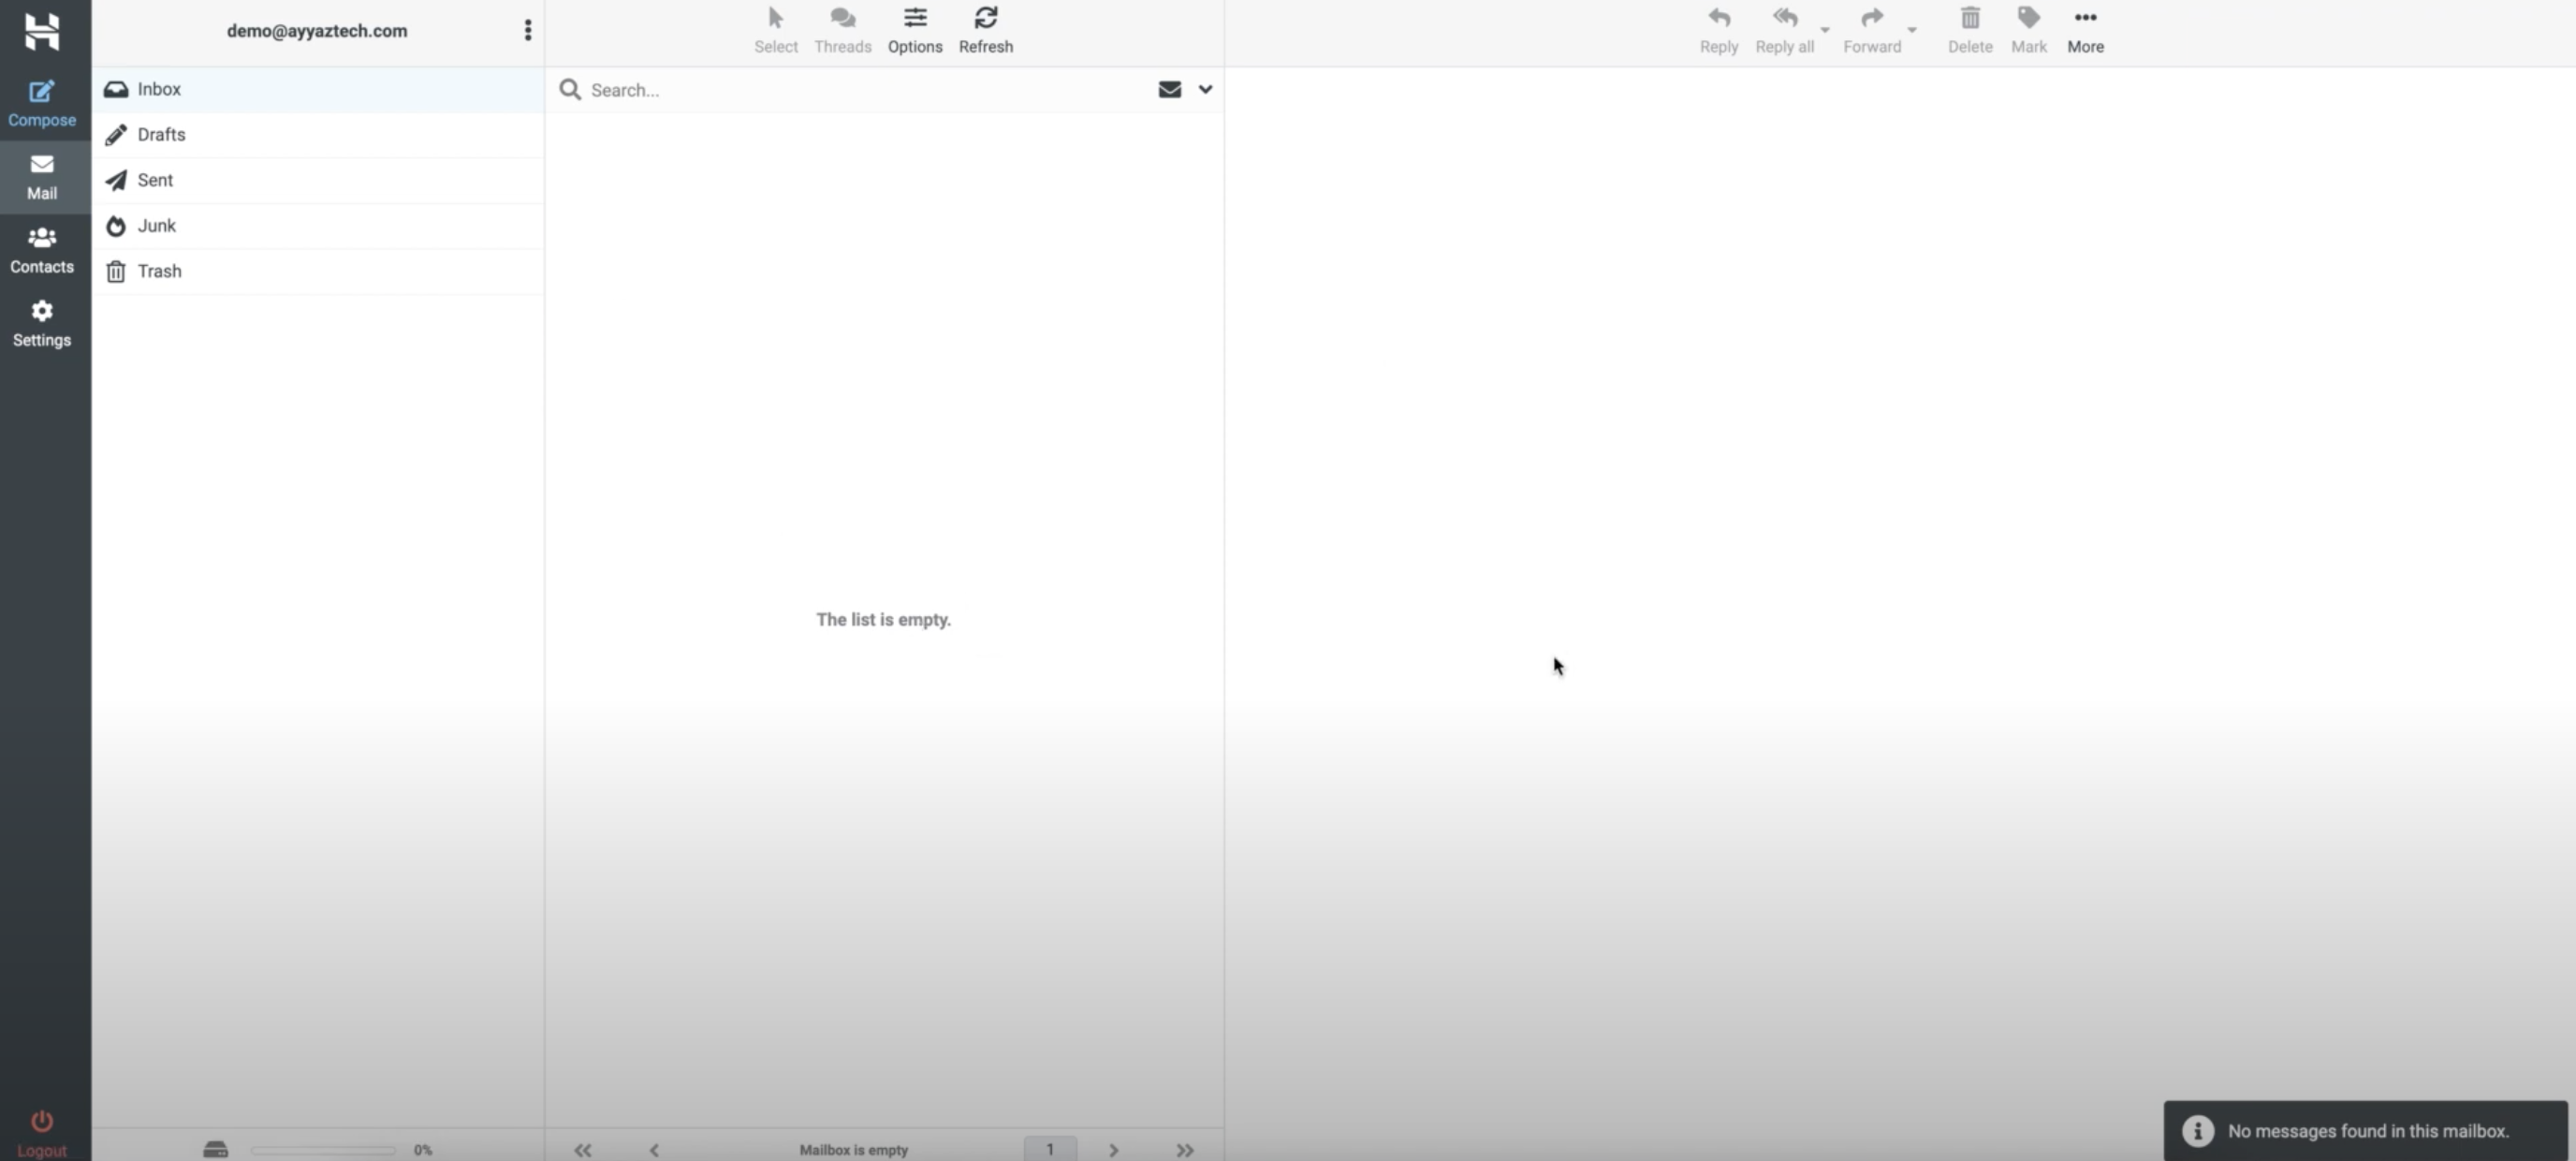
Here you can see that we have almost the same kind of standard options that we normally have in any other mail client like Gmail etc. For example inbox, drafts, sent, junk ( spam ), trash and many others.
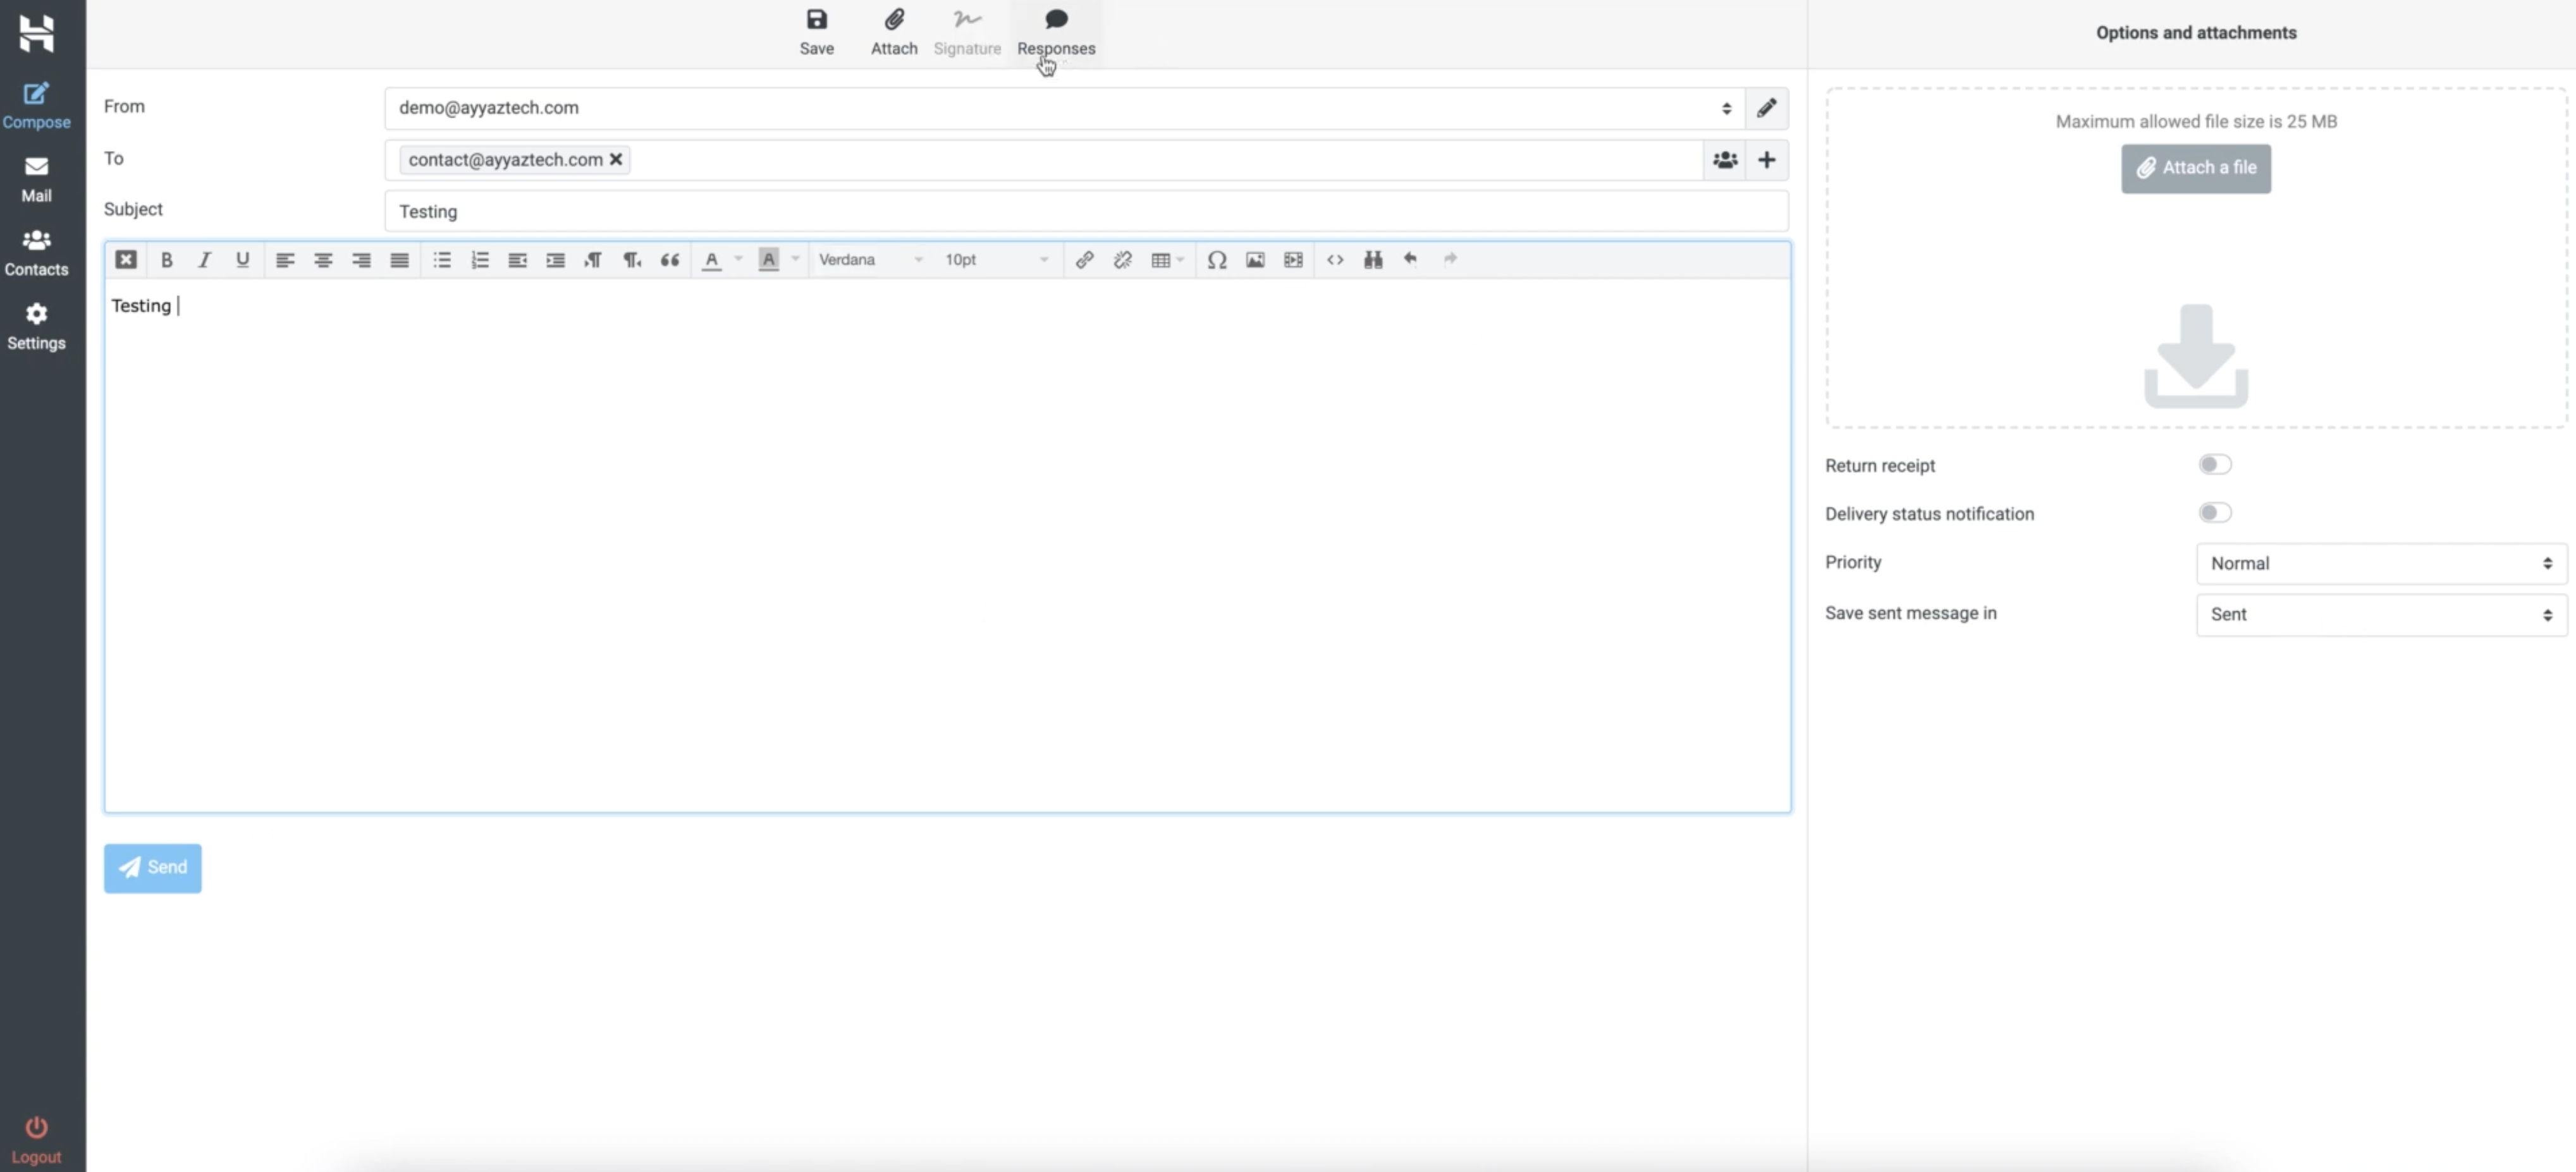
In the following screenshot, you can see that how to create send an email after clicking on the Compose button from the left side bar:
You saw that how convenient and easy the process was to create an email account from Hostinger.com.
Hostinger is one of my best-hosting providers. You can also get hosting for your website from this link:
https://bit.ly/3kTgcUn
You can also watch the video version of this article from my Youtube Channel: