Building a Powerful Chatbot with GPT4All and Langchain: A Step-by-Step Tutorial
Introduction: Hello everyone! In this blog post, we will embark on an exciting journey to build a powerful chatbot using GPT4All and Langchain. By following the steps outlined in this tutorial, you'll learn how to integrate GPT4All, an open-source language model, with Langchain to create a chatbot capable of answering questions based on a custom knowledge base. We'll also explore how to enhance the chatbot with embeddings and create a user-friendly interface using Streamlit.
Step 1: Setting Up the Project and Installing Dependencies To get started, let's create a new directory for our project and navigate to it in the terminal:
mkdir gpt4all-chatbot
cd gpt4all-chatbot
Next, create a virtual environment to keep our project's dependencies isolated. You can use the following command:
pipenv shell
Now, let's install the required dependencies using pip:
pipenv install langchain langchain_core langchain_community streamlit gpt4all unstructured chromadbWe'll be using the Langchain library for integrating with GPT4All, langchain_core and langchain_community for additional functionality, and Streamlit for creating the user interface.
#Pipfile

[[source]]
url = "https://pypi.org/simple"
verify_ssl = true
name = "pypi"

[packages]
langchain = "*"
langchain-community = "*"
chromadb = "*"
gpt4all = "*"
streamlit = "*"
unstructured = "*"

[dev-packages]

[requires]
python_version = "3.11"
Step 2: Downloading the GPT4All Model To use GPT4All, we need to download the model file. In this tutorial, we'll be using the "mistral-7b" model. Create a new directory called "models" in your project directory and download the model file using the following command:
mkdir models
cd models
wget https://orca-models.s3-us-west-2.amazonaws.com/mistral-7b/mistral-7b-openorca.Q4_0.gguf
If you prefer, you can also download the model file directly from the GPT4All website.
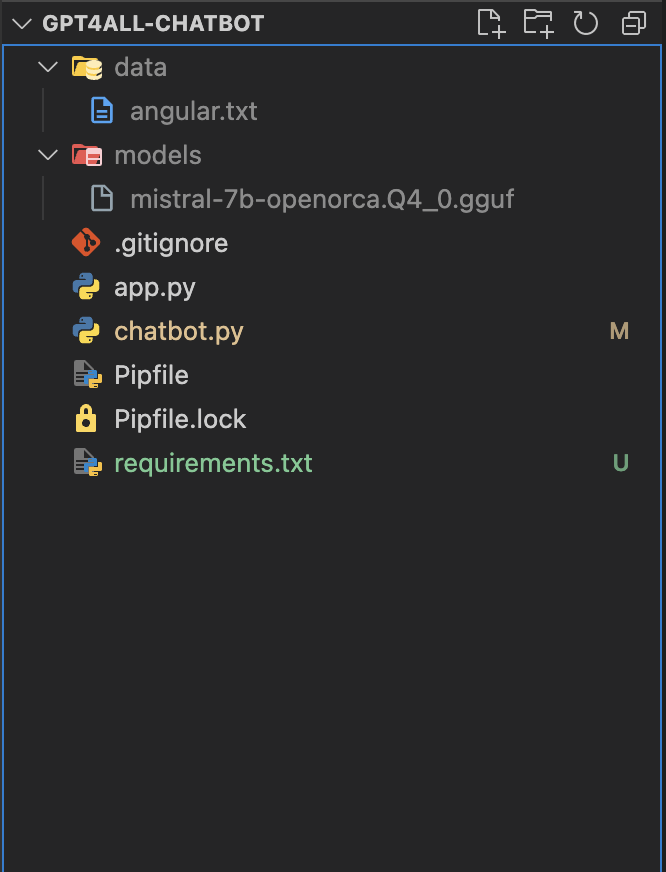
Step 3: Implementing Simple Integration of GPT4All with Langchain Now, let's create a new Python file called chatbot.py and start implementing the integration of GPT4All with Langchain.
from langchain.callbacks.manager import CallbackManager
from langchain_community.llms import GPT4All
from langchain_core.prompts import PromptTemplate
from langchain.chains import LLMChain

# Create a variable to store the path of the model
model_path = "./models/mistral-7b-openorca.Q4_0.gguf"

# Create the Callback Manager
callback_manager = CallbackManager([])

# Create the LLM using the GPT4All class
llm = GPT4All(model=model_path, callback_manager=callback_manager, verbose=True)

# Define the prompt template
template = """
You are an AI assistant given the following question provide a detailed answer.

Question: {question}

Answer:
"""

# Create the prompt variable using the PromptTemplate class
prompt = PromptTemplate(template=template, input_variables=["question"])

# Create the LLMChain using the prompt template and the GPT4All model
llm_chain = LLMChain(prompt=prompt, llm=llm)

# Ask a question and get the answer
query = "What are the benefits of using GPT4All?"
result = llm_chain.invoke(input=query)
print(result)
In this code, we:
- Import the necessary modules.
- Create a variable
model_pathto store the path of the downloaded model file. - Create a
CallbackManagerinstance. - Create an
llminstance using theGPT4Allclass, passing themodel_path,callback_manager, and settingverbosetoTrue. - Define a prompt template using a multiline string.
- Create a
promptvariable using thePromptTemplateclass, passing thetemplateandinput_variables. - Create an
llm_chaininstance using theLLMChainclass, passing thepromptandllm. - Ask a question by setting the
queryvariable and invoking thellm_chainwith the query. - Print the result.
Now, run the chatbot.py file in the terminal:
python chatbot.pyYou should see the model's response printed in the terminal.

Step 4: Enhancing the Chatbot with Embeddings To enable the chatbot to chat with a document, we'll use embeddings and create a vector store. First, create a new directory called "data" in your project and place your text files inside it.
Now, let's modify the chatbot.py file to incorporate embeddings:
from langchain.chains import RetrievalQA
from langchain_community.vectorstores import Chroma
from langchain_community.embeddings import GPT4AllEmbeddings
from langchain.text_splitter import CharacterTextSplitter
from langchain_community.document_loaders import DirectoryLoader
# ... (previous code remains the same)
# Load the files from the data directory
loader = DirectoryLoader('data/', glob="**/*.txt")
documents = loader.load()
# Split the text into chunks
text_splitter = CharacterTextSplitter(chunk_size=1000, chunk_overlap=0)
texts = text_splitter.split_documents(documents)
# Create a vector store and add the text chunks
embeddings = GPT4AllEmbeddings()
vectorstore = Chroma.from_documents(texts, embeddings)
# Create a retriever from the vector store
retriever = vectorstore.as_retriever()
# Load the question-answering chain with the retriever
qa = RetrievalQA.from_chain_type(
llm=llm,
chain_type="stuff",
retriever=retriever,
return_source_documents=True,
)
# Ask a question
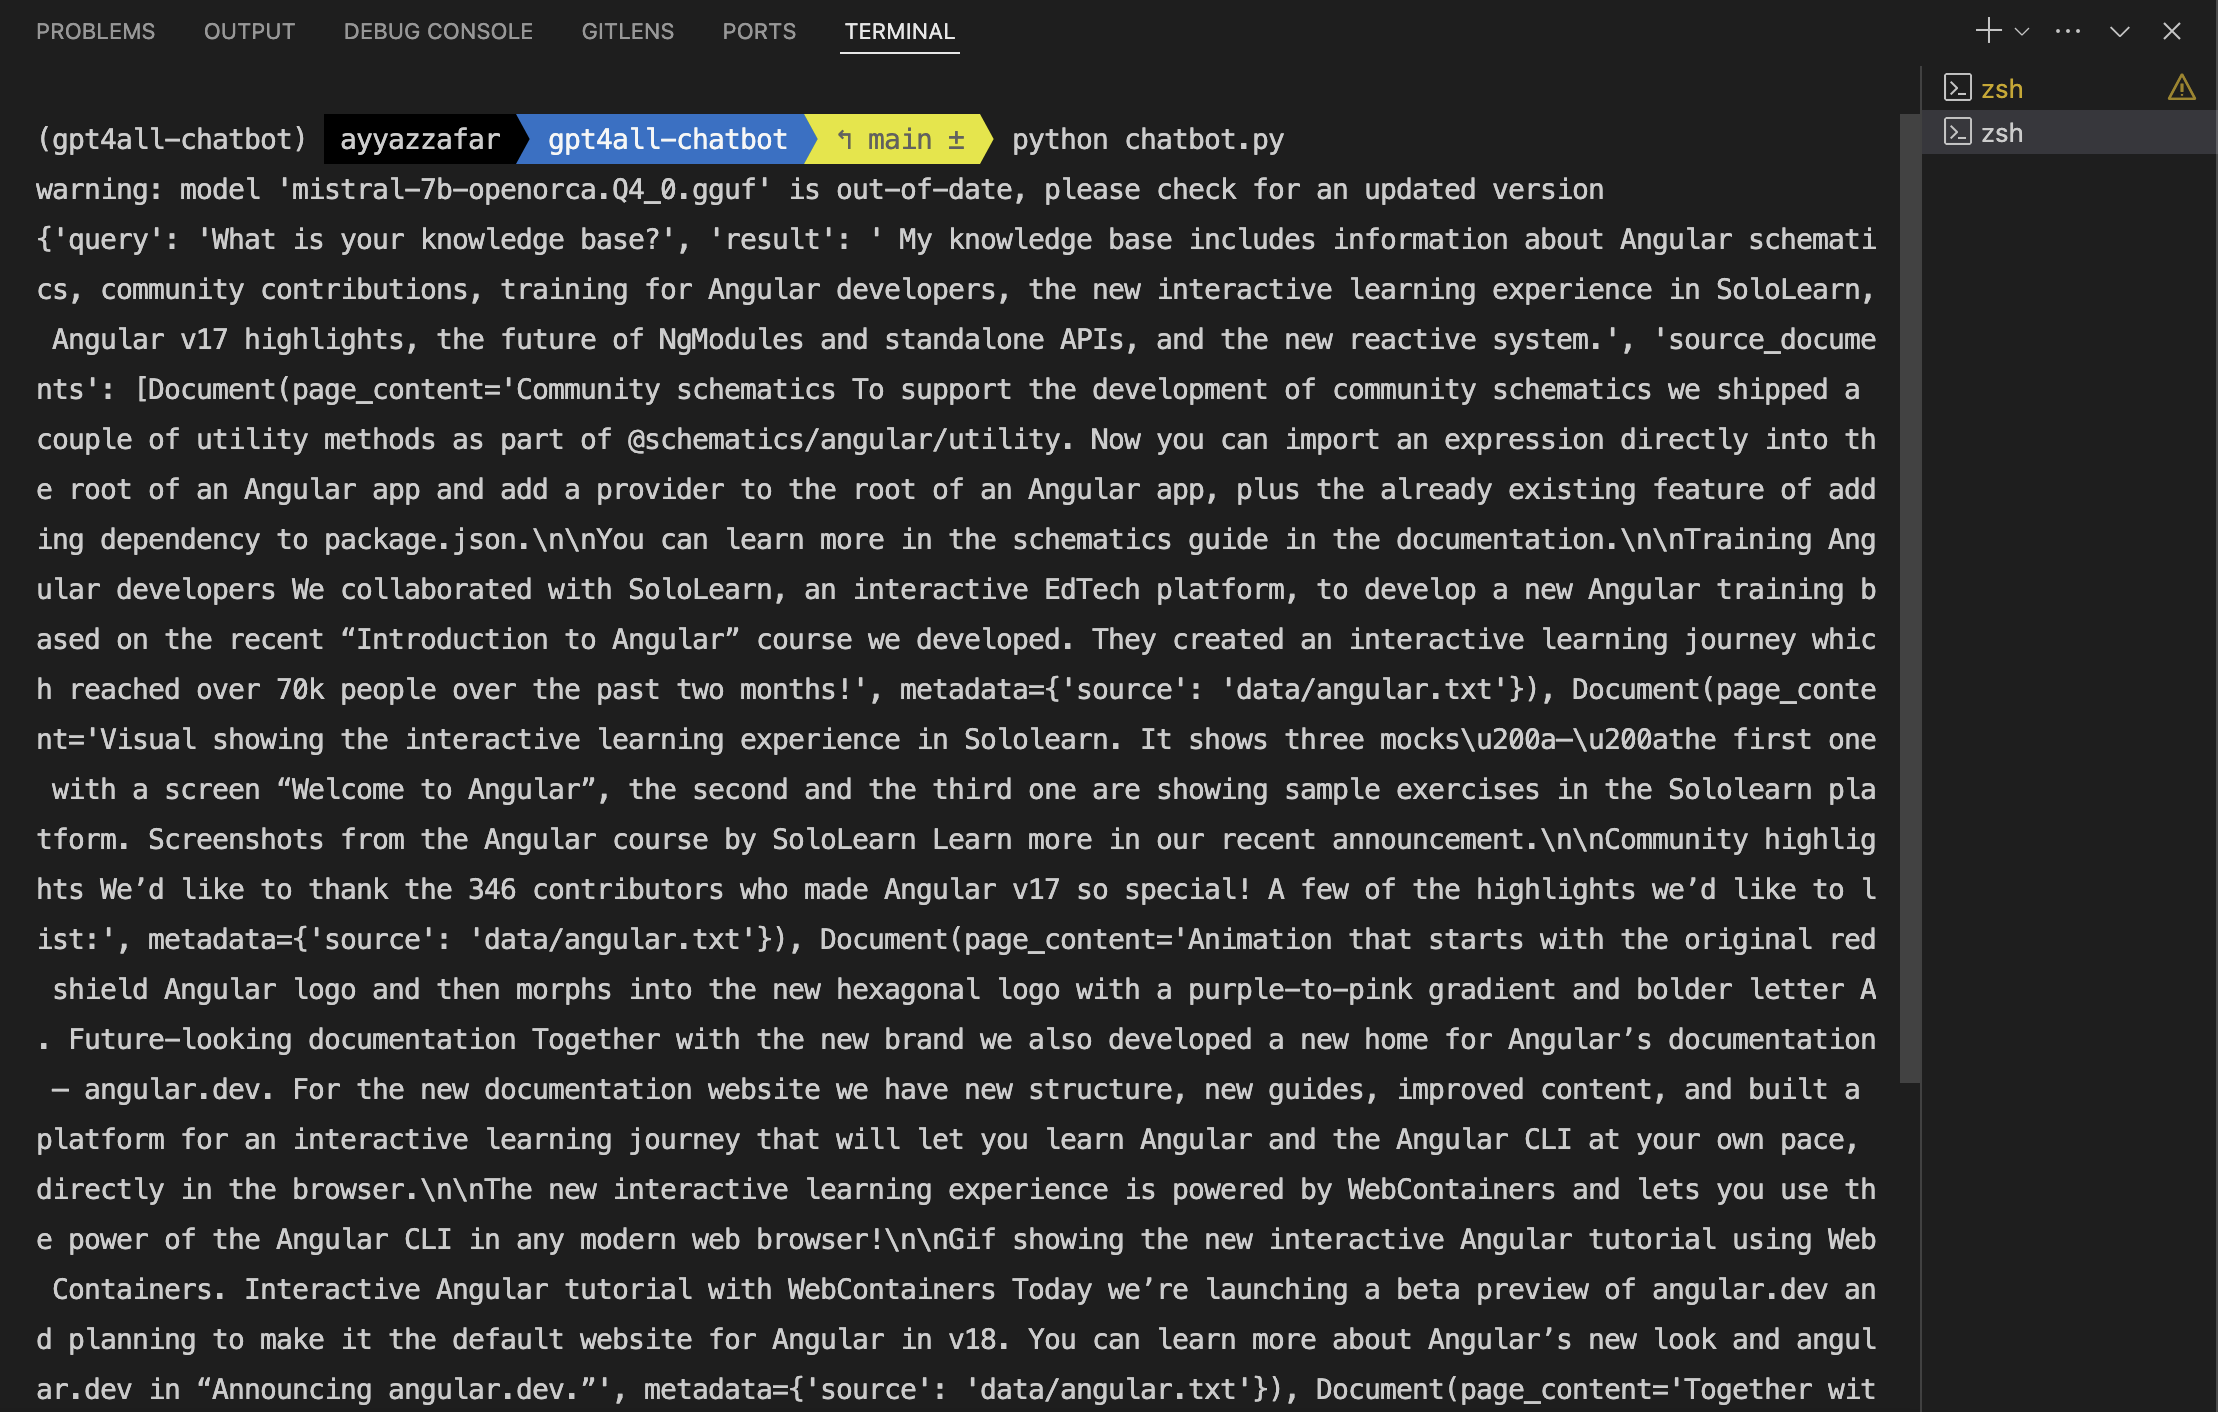
query = "What is your knowledge base?"
result = qa.invoke(input=query)
print(result)
In this updated code, we:
- Import additional modules for embeddings and document handling.
- Load the text files from the "data" directory using the
DirectoryLoaderclass. - Split the text into chunks using the
CharacterTextSplitterclass. - Create a vector store using the
Chroma.from_documents()method, passing the text chunks and embeddings. - Create a retriever from the vector store using the
as_retriever()method. - Load the question-answering chain with the retriever using
RetrievalQA.from_chain_type(). - Ask a question and print the result.
Run the chatbot.py file again to see the chatbot's response based on the provided knowledge base.
Step 5: Creating a User-Friendly Interface with Streamlit To enhance the user experience, let's create a simple user interface using Streamlit. Create a new file called app.py and add the following code:
import streamlit as st
from langchain.chains import RetrievalQA
from langchain.prompts import PromptTemplate
from langchain_community.vectorstores import Chroma
from langchain_community.embeddings import GPT4AllEmbeddings
from langchain.text_splitter import CharacterTextSplitter
from langchain_community.document_loaders import DirectoryLoader
from langchain.callbacks.manager import CallbackManager
from langchain_core.prompts import PromptTemplate
from langchain.chains import LLMChain
from langchain_community.llms import GPT4All
@st.cache_resource
def load_model():
model_path = "./models/mistral-7b-openorca.Q4_0.gguf"
callback_manager = CallbackManager([])
llm = GPT4All(model=model_path, callback_manager=callback_manager, verbose=True)
return llm
@st.cache_resource
def load_vectorstore():
loader = DirectoryLoader('data/', glob="**/*.txt")
documents = loader.load()
text_splitter = CharacterTextSplitter(chunk_size=1000, chunk_overlap=0)
texts = text_splitter.split_documents(documents)
embeddings = GPT4AllEmbeddings()
vectorstore = Chroma.from_documents(texts, embeddings)
return vectorstore
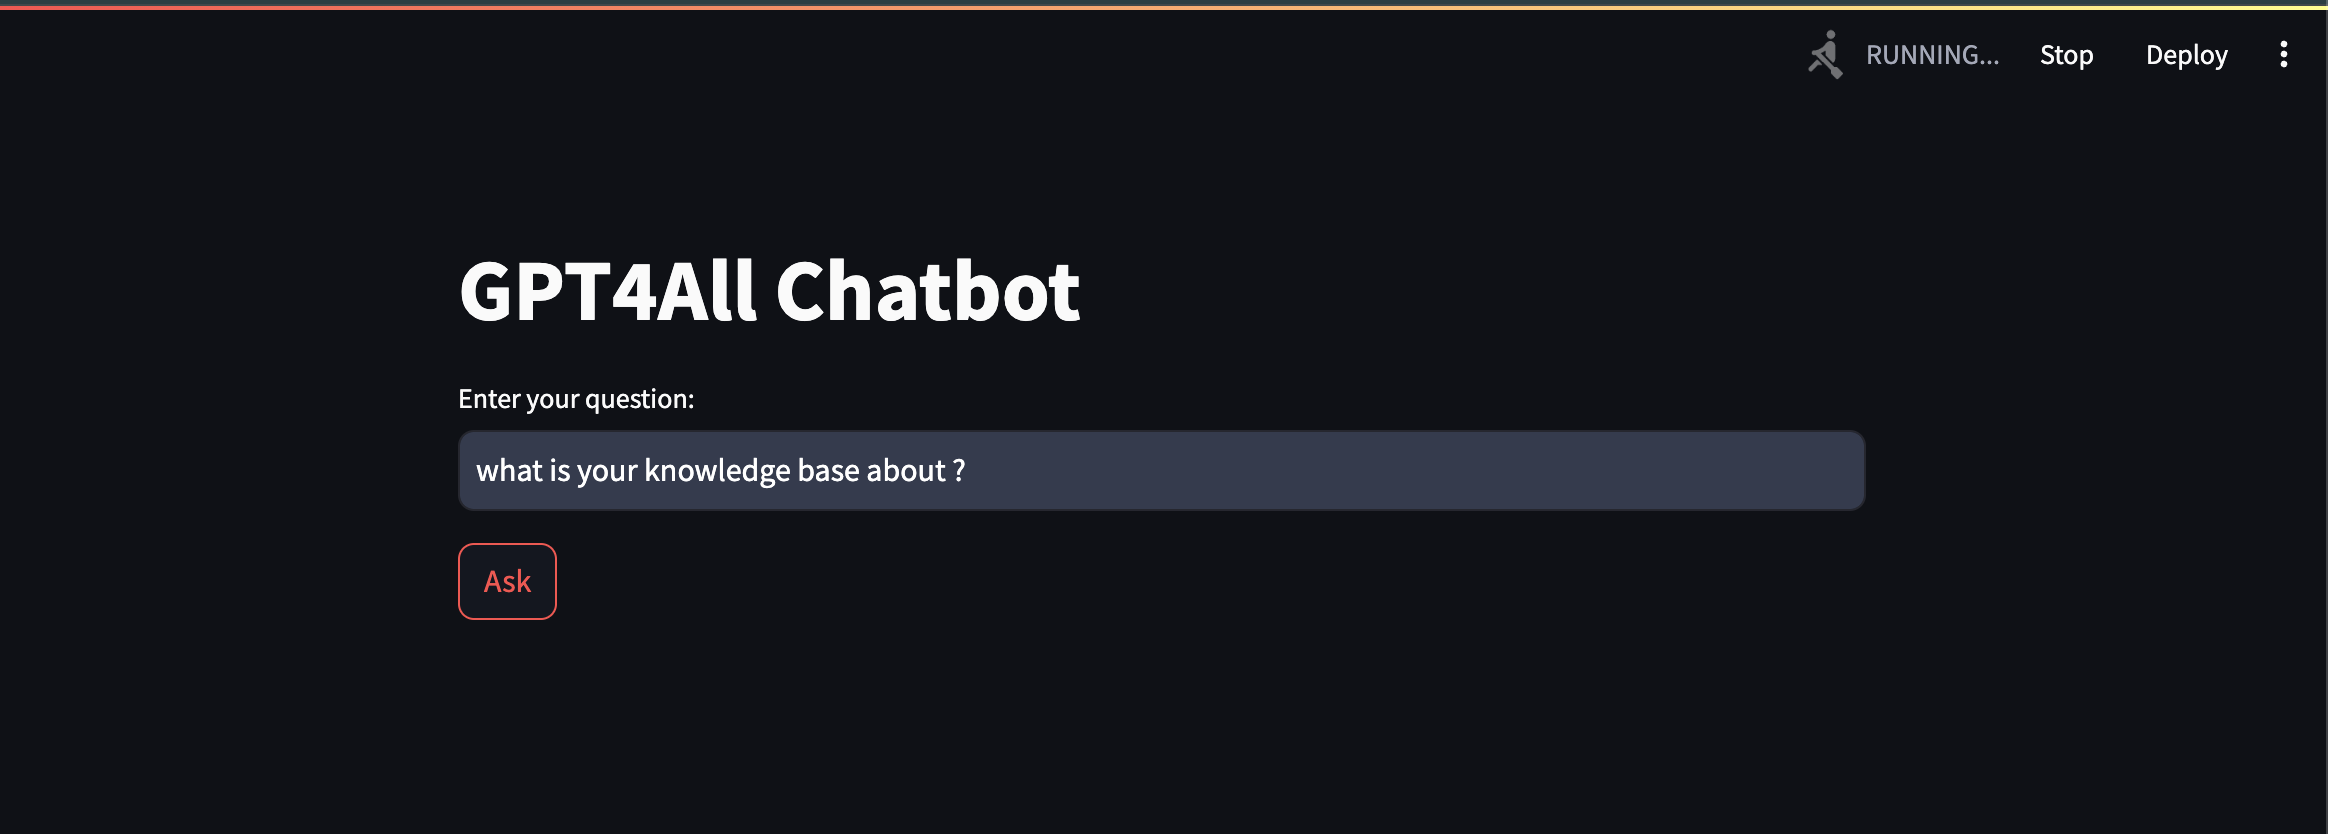
def main():
st.title("GPT4All Chatbot")
llm = load_model()
vectorstore = load_vectorstore()
retriever = vectorstore.as_retriever()
qa = RetrievalQA.from_chain_type(
llm=llm,
chain_type="stuff",
retriever=retriever,
return_source_documents=True,
)
query = st.text_input("Enter your question:")
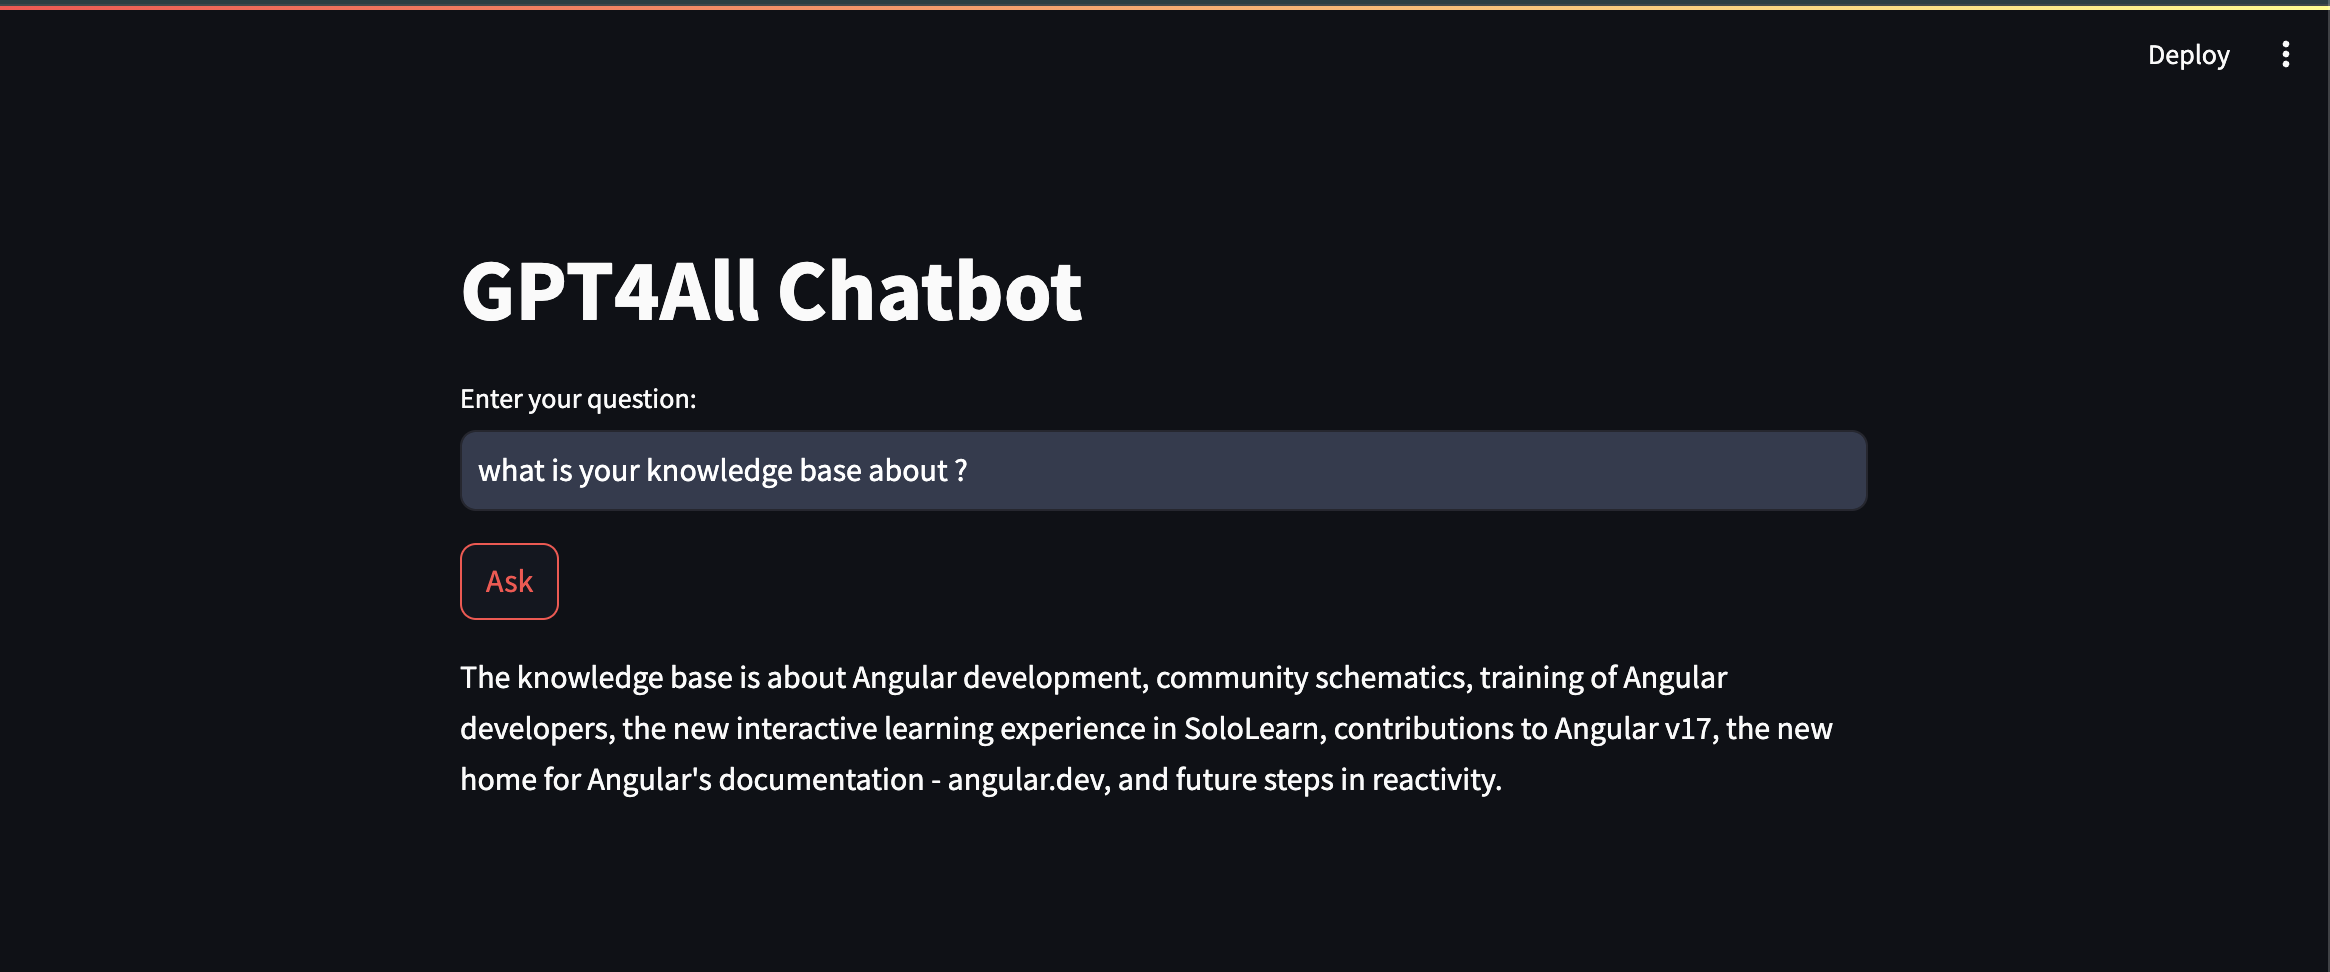
if st.button("Ask"):
result = qa.invoke(input=query)
st.write(result["result"])
if __name__ == "__main__":
main()
In this code, we:
- Import the necessary modules, including Streamlit.
- Define a
load_model()function to load the GPT4All model. - Define a
load_vectorstore()function to load the vector store from the "data" directory. - Define the
main()function, which sets up the Streamlit app. - Create a text input for the user to enter their question and a button to trigger the chatbot.
- When the button is clicked, invoke the question-answering chain with the user's query and display the result.
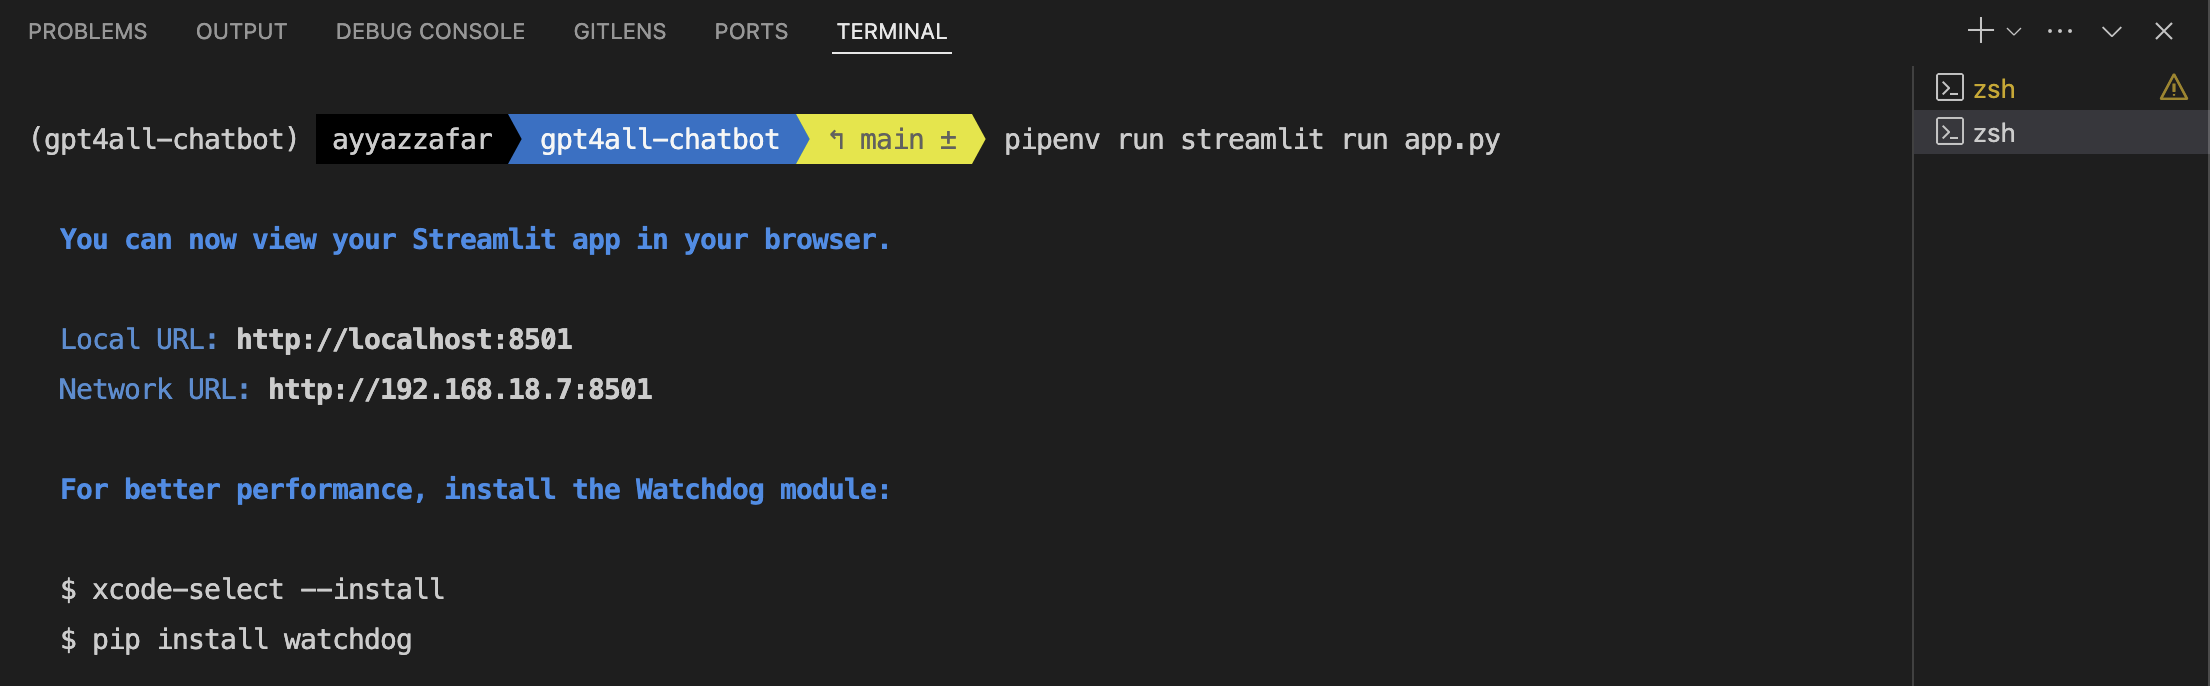
Run the Streamlit app using the following command:
pipenv run streamlit run app.pyThis will start the Streamlit server, and you can interact with the chatbot through the web interface.
Conclusion: Congratulations! You have successfully built a powerful chatbot using GPT4All and Langchain. You learned how to integrate GPT4All with Langchain, enhance the chatbot with embeddings, and create a user-friendly interface using Streamlit.
Feel free to experiment with different models, add more documents to your knowledge base, and customize the prompts to suit your needs. If you enjoyed this tutorial and would like to see more videos like this, please let me know in the comments section below. Your feedback and suggestions are highly appreciated!
You can find the GitHub Source code from this url: https://github.com/ayyazzafar/ai_chatbot_powered_by_langchain_gpt4all_streamlit/tree/main
If you prefer to read from Medium then visit this link: https://ayyazzafar.medium.com/building-a-powerful-chatbot-with-gpt4all-and-langchain-a-step-by-step-tutorial-04d28d32fc82
Don't forget to like and share this blog post with others who might find it helpful. If you have any questions or encounter any issues, feel free to ask in the comments, and I'll do my best to assist you.
To stay updated with more exciting content on AI, GPT, OpenAI, and Langchain, make sure to subscribe to my YouTube channel and click the bell icon for notifications. You can find the link to my channel here.
Thank you for reading, and happy chatbot building!