How to center an image in Tailwind css?
One of the most common tasks in web development is centering content. It might sound trivial, but it can often be tricky, especially for beginners. In today's tutorial, we will uncover how to effortlessly center an image using Tailwind CSS, a utility-first CSS framework.
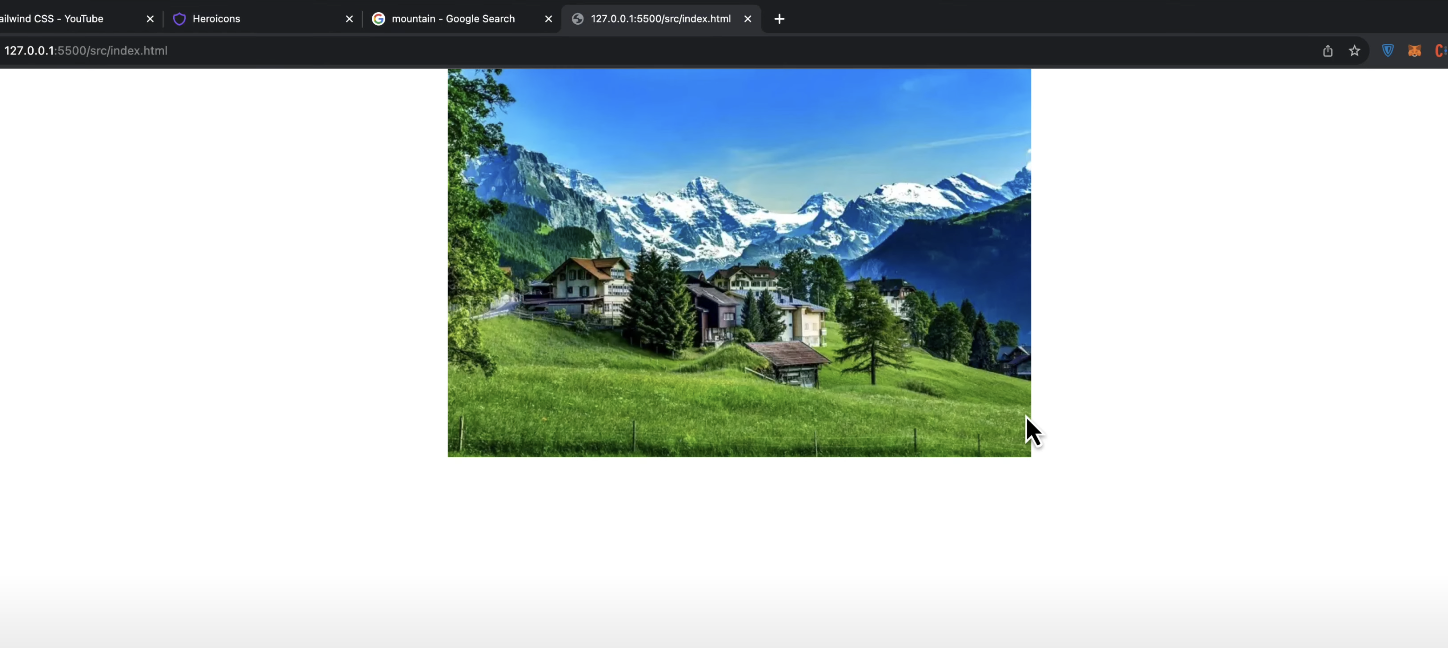
1. Centering Horizontally:
Step 1:
Start by placing your image inside a div.
<div>
    <img src="path_to_image.jpg" alt="Description">
</div>
Step 2:
Apply the w-full and text-center classes to the div.
<div class="w-full text-center">
    <img src="path_to_image.jpg" alt="Description">
</div>
Step 3:
For the image, use the mx-auto class. This ensures the image takes automatic margins on both sides, centering it horizontally.
<div class="w-full text-center">
    <img src="path_to_image.jpg" alt="Description" class="mx-auto">
</div>
Note: While text-center may not affect the image directly, if there's any text content within the div, it ensures that the text is also centered.
2. Centering Vertically:
Step 1:
Add the class h-screen to the parent div.
<div class="h-screen">
    ...
</div>
Step 2:
Use the classes flex, justify-center, and items-center.
<div class="h-screen flex justify-center items-center">
    <img src="path_to_image.jpg" alt="Description">
</div>
Note: The flex class turns the div into a flexible container. justify-center centers content horizontally, while items-center centers content vertically. Together, they perfectly center the image on the screen.

3. Centering Inside a Specific Container:
Step 1:
Define the size of the container using classes like w-1/2 (for 50% width) and set its position to relative.
<div class="w-1/2 h-96 relative">
    ...
</div>
Step 2:
For the image, use classes absolute, top-1/2, and left-1/2 to set its position.
<div class="w-1/2 h-96 relative">
    <img src="path_to_image.jpg" alt="Description" class="absolute top-1/2 left-1/2">
</div>
Step 3:
Perfectly center the image using transform classes.
<div class="w-1/2 h-96 relative">
    <img src="path_to_image.jpg" alt="Description" class="absolute top-1/2 left-1/2 transform -translate-x-1/2 -translate-y-1/2">
</div>
Note: The combination of transform, translate-x-1/2, and translate-y-1/2 shifts the image back by half its width and height, ensuring the image sits perfectly at the center of the div.

Conclusion:
Centering images can be streamlined with Tailwind CSS. Whether it's centering horizontally, vertically, or within a specific container, with the right combination of utility classes, the process becomes pain-free.
If you found this tutorial insightful, don't hesitate to explore more web development tips and tricks. Happy coding!