How to Set Up a Local WordPress Environment with Docker: A Step-by-Step Guide

Setting Up a Local WordPress Environment with Docker: A Beginner's Guide
Docker has revolutionized how developers test and develop projects, allowing for isolated environments where each component lives in a separate container. In this tutorial, we'll walk through the steps to set up a local WordPress environment using Docker.
Prerequisites
Before you begin, ensure you have the following installed:
- Docker
- Docker Compose
If not, download both from the official Docker website.
Step-by-Step Guide
1. Create a Workspace:
Start by making a directory for your WordPress project.
mkdir wordpress_docker
cd wordpress_docker
Open this directory in an editor of your choice. Here, we'll use VS Code:
code .2. Docker Compose YAML File:
Create a file named docker-compose.yml. This file will define our WordPress and MySQL services.
Database Service:
Define the database service using this YAML code:
version: '3.1'

services:
  db:
    image: mysql:5.7
    volumes:
      - db_data:/var/lib/mysql
    environment:
      MYSQL_ROOT_PASSWORD: somewordpress
      MYSQL_DATABASE: wordpress
      MYSQL_USER: wordpress
      MYSQL_PASSWORD: wordpress

  wordpress:
    depends_on:
      - db
    image: wordpress:latest
    ports:
      - "8000:80"
    environment:
      WORDPRESS_DB_HOST: db:3306
      WORDPRESS_DB_USER: wordpress
      WORDPRESS_DB_PASSWORD: wordpress
      WORDPRESS_DB_NAME: wordpress
    volumes:
      - ./wp-content:/var/www/html/wp-content

volumes:
    db_data: {}
This code sets up two services: a database service using MySQL and a WordPress service. The WordPress service communicates with the database using environment variables.
3. Running Your WordPress Instance:
With the configurations set, start your services:
docker-compose up -dAfter the command executes, access your WordPress site by navigating to localhost:8000 in your browser.
4. WordPress Setup on Local Machine:
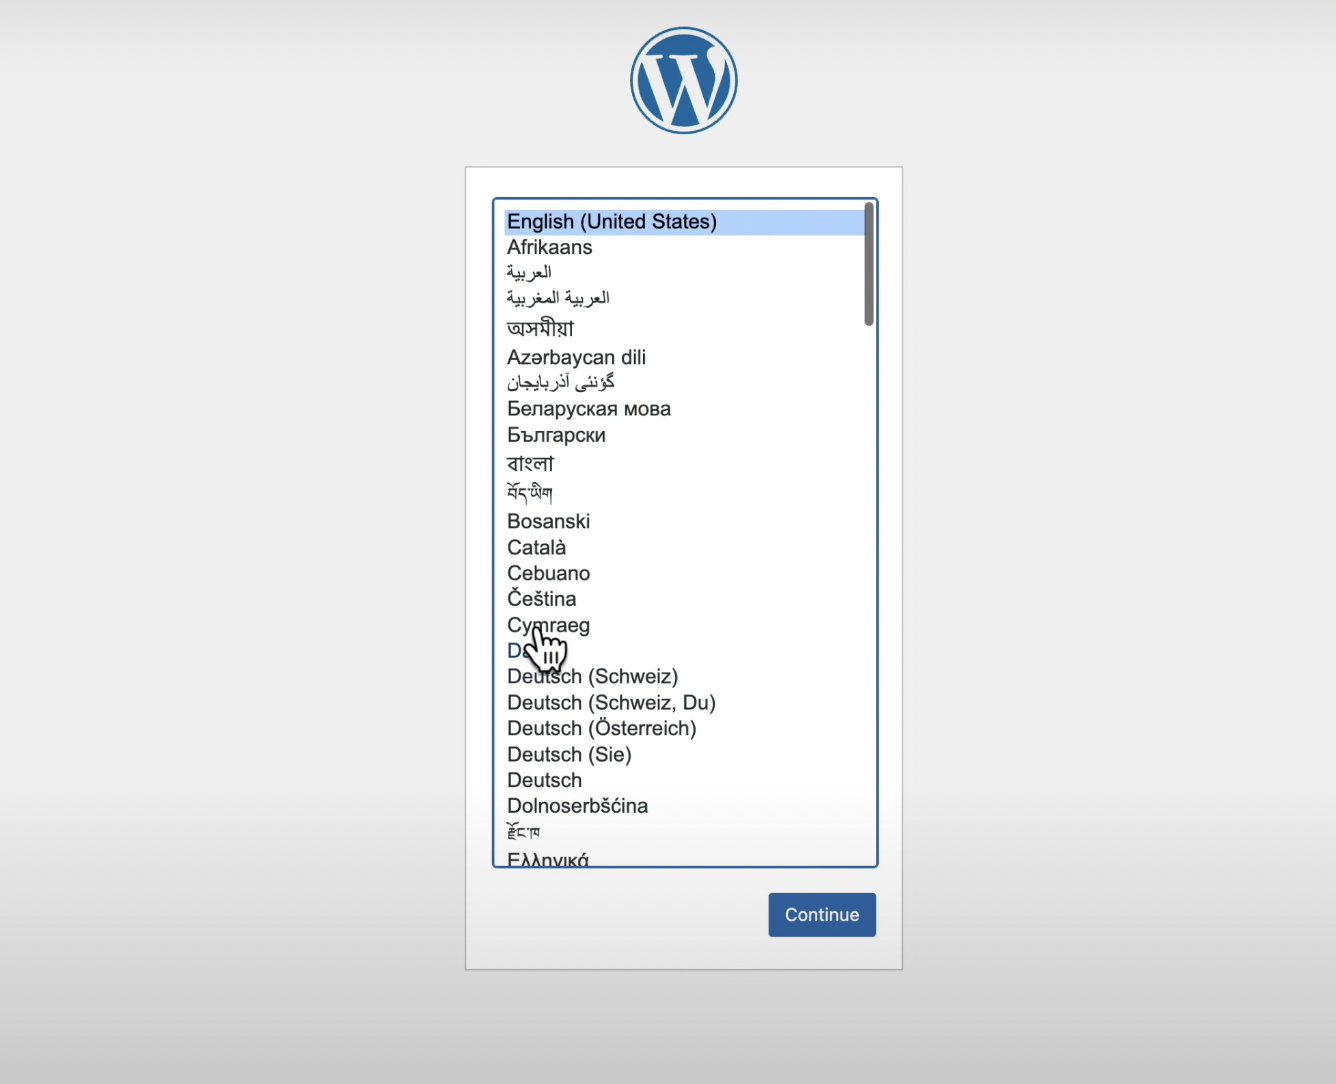
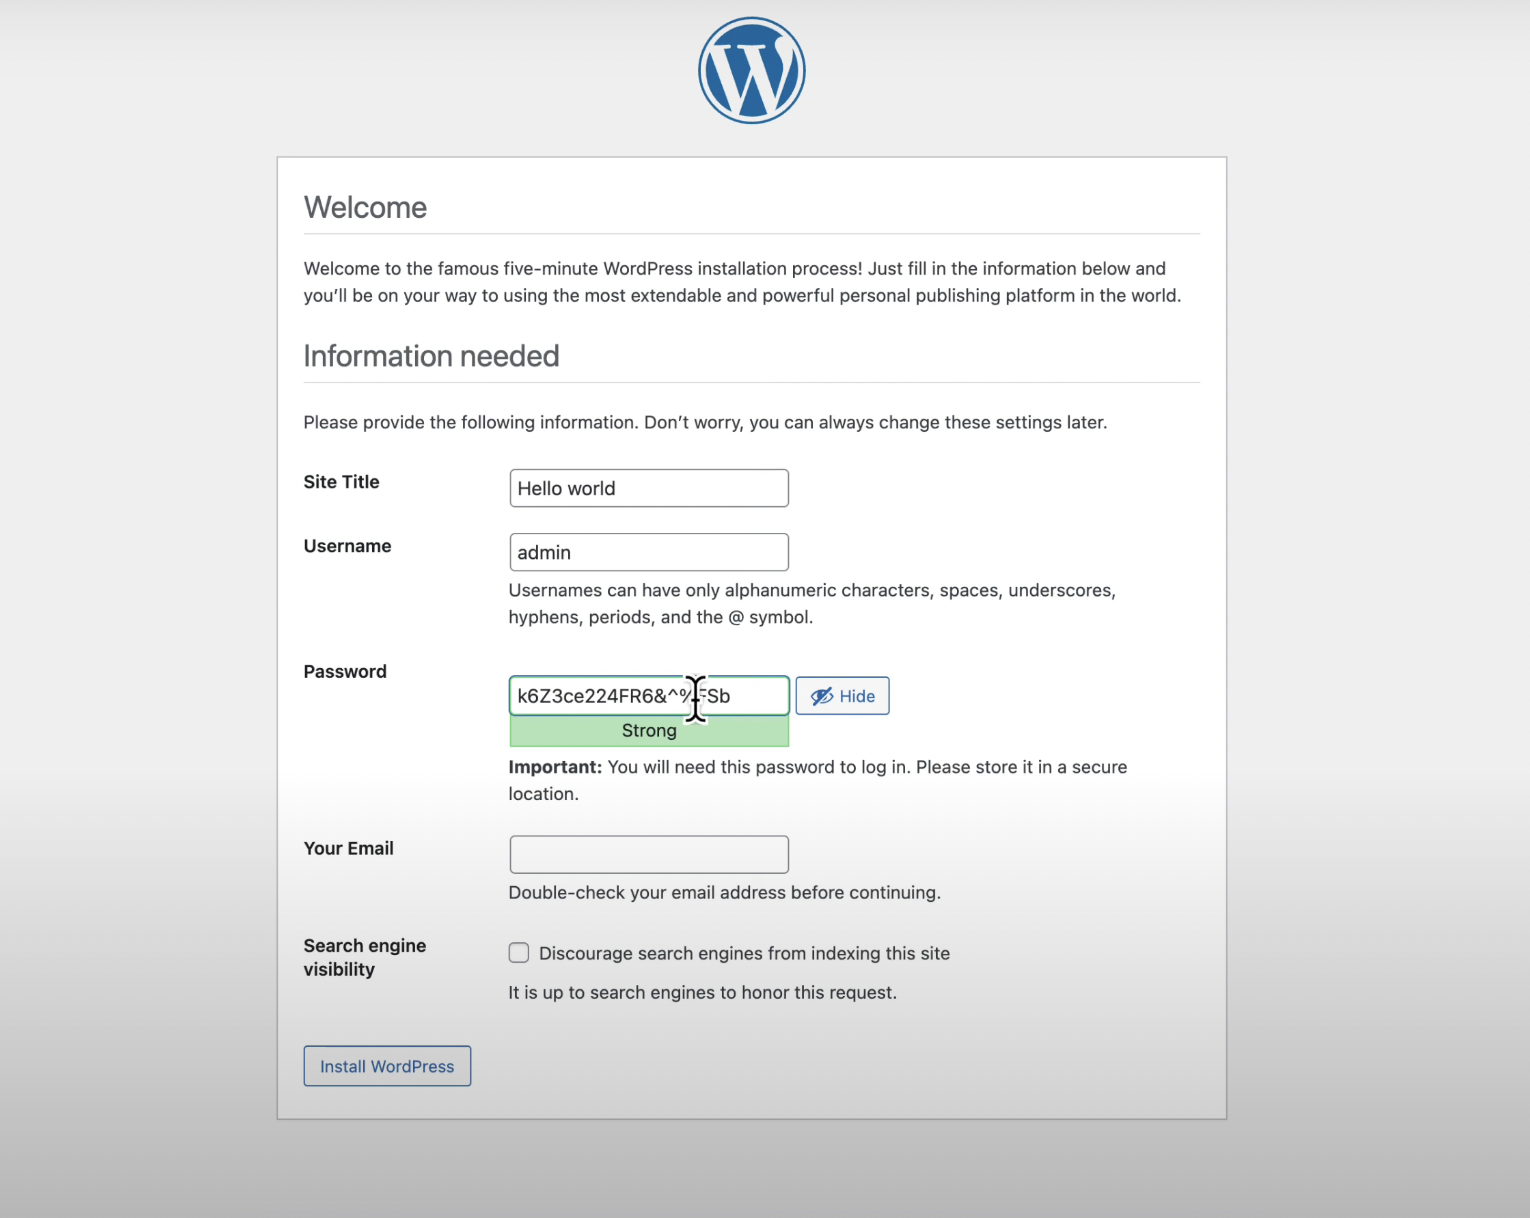
Follow the on-screen instructions:
- Choose a language.

- Set the site title.
- Define an admin username and password.

5. Accessing WordPress Files:
Thanks to the volume mapping in our docker-compose.yml, the wp-content directory from the Docker container syncs with your local machine. This means any plugins, themes, or other files you add locally will reflect in the Docker WordPress instance and vice versa.
6. Stop and Start Your Services:
When done, you can stop the services using:
docker-compose downTo start them up again:
docker-compose up -dConclusion
Congratulations! You now have a fully functional local WordPress environment set up using Docker. This setup ensures a safe space to experiment, develop, and test without affecting a live site. Remember to always consult the Docker Hub or other resources if you're unsure about configurations or variables. Happy coding!